How to Make UV DTF Stickers: A Step-by-Step Setup Guide
By now you know what UV DTF stickers are and why they've become one of the fastest-growing custom print products around , and how they stack up against vinyl and regular DTF This guide is the practical one: exactly what equipment you need, the full production process from blank film to finished sticker, and where things typically go wrong for beginners — plus a straightforward setup recommendation if you're ready to start producing.
The Three Things You Need
Every UV DTF sticker operation, regardless of scale, comes down to three pieces of equipment working together.
1. A UV DTF Printer
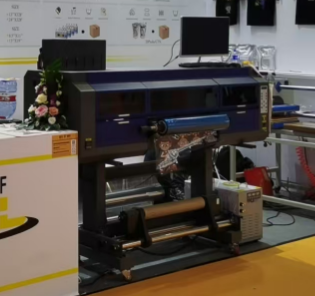
This is the core machine — a UV inkjet printer that lays down color, white ink, and a gloss varnish topcoat, curing each layer instantly under UV light as it prints. The single most useful feature to look for as a beginner is inline lamination: a printer that automatically bonds the printed A film to the B film carrier as part of the print run, rather than requiring you to run the film through a separate laminator afterward. That one feature removes an entire manual step (and a common source of bubbles and misalignment) from your workflow.
Printhead count and print width matter for throughput — more printheads and a wider bed mean more square footage per hour — but for a first setup, reliability and print quality matter more than raw speed. A three-printhead 24" machine, for example, can comfortably keep up with steady Etsy-shop order volume, while a single-printhead compact model is better suited to testing designs and fulfilling lower volume before you know whether you need to scale up.
2. UV Ink (CMYKW)
UV DTF uses a CMYK + White ink set, sometimes with a separate varnish/gloss channel (CMYKWV). The white layer is what makes colors pop on clear film and gives designs opacity when applied to dark or transparent surfaces — without it, colors would look washed out or let the underlying surface show through. Ink formulated specifically for UV DTF (as opposed to generic UV flatbed ink) is optimized for adhesion to hard, non-porous surfaces and for holding up to the flexing that happens when a design wraps around a curved tumbler or bottle.
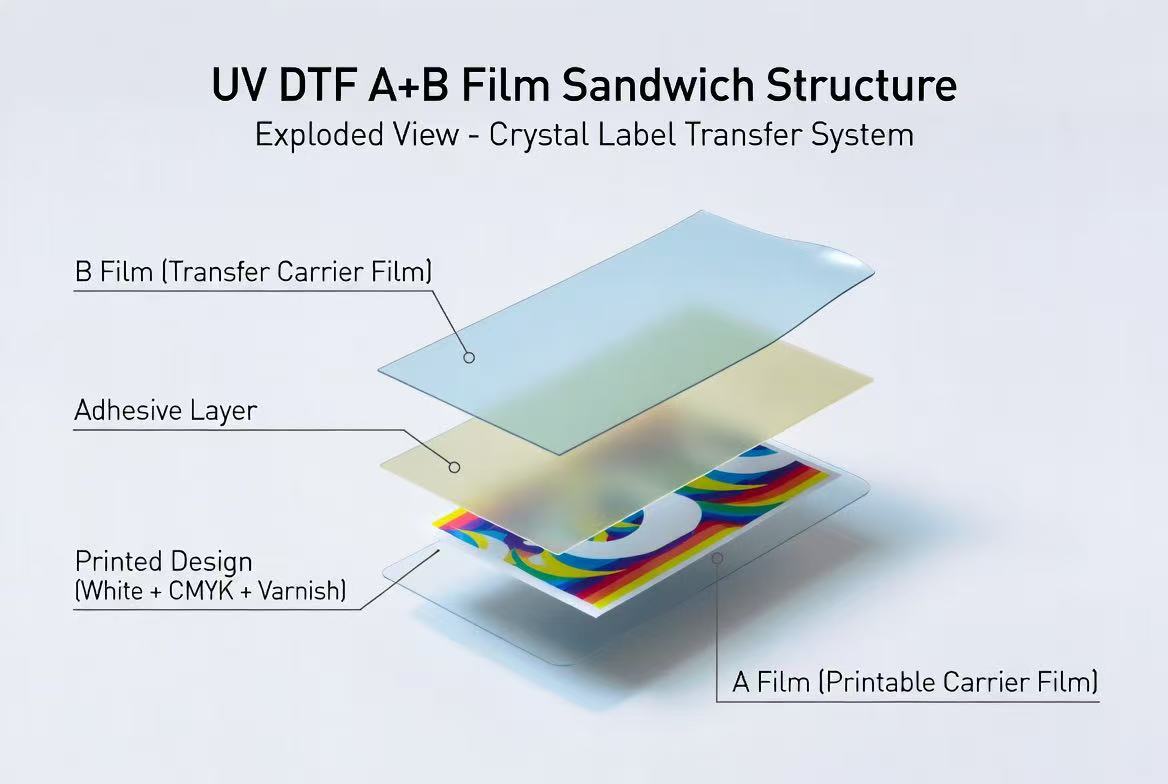
3. UV DTF AB Film
The film is the actual transfer medium — A film, which receives the printed design, and B film, the carrier/application layer that gets laminated on top and peeled away after the sticker is applied. Film quality directly affects two things beginners care about most: how cleanly the design releases from the carrier during application, and how strong the adhesive bond is once it's pressed onto the target surface. This is generally not a place to cut corners — mismatched or low-quality film is one of the most common causes of stickers that lift at the edges or peel prematurely. It's also worth buying film in a width that matches your printer's full print bed; running narrower film on a wider printer just wastes capacity, while film that's too narrow for a design forces you to break larger artwork into pieces.
The Full Production Process
Here's what actually happens from blank file to a sticker on a customer's tumbler.
Step 1 — Design & File Setup. Prepare your artwork at the correct print size with a small bleed (typically 1–2mm) around the edges so the die-cut line doesn't clip into the design. In your RIP or printer software, you'll set up a white ink layer (usually a spot-white or full underlay, depending on whether the background should be opaque or the design has transparent areas) and a varnish/gloss layer, which can be applied as a flood coat over the whole design or spot-varnished for extra dimension on specific elements.
Step 2 — Print. The printer lays down the design onto A film in sequence — typically color first, then white, then varnish — with each layer UV-cured before the next is applied. Because the sticker will be viewed through the top layers once applied, most RIP software mirrors the image automatically so it reads correctly once it's flipped and pressed onto the surface.
Step 3 — Laminate A + B Film. The printed A film gets bonded to the B film carrier. On a printer with inline lamination, this happens automatically as part of the print run. On a standalone printer, you'll run the printed film through a separate laminator — an extra step, and one more place where dust or misalignment can cause bubbles if you're not careful.
Step 4 — Cut. Individual designs get cut to their final shape, either by hand with a craft knife (workable for very low volume) or, far more reliably, on a contour cutter that reads registration marks printed alongside the design and cuts automatically around each shape — no manual tracing or guesswork. This is the step that turns a printed sheet into individually peelable, ready-to-apply stickers.
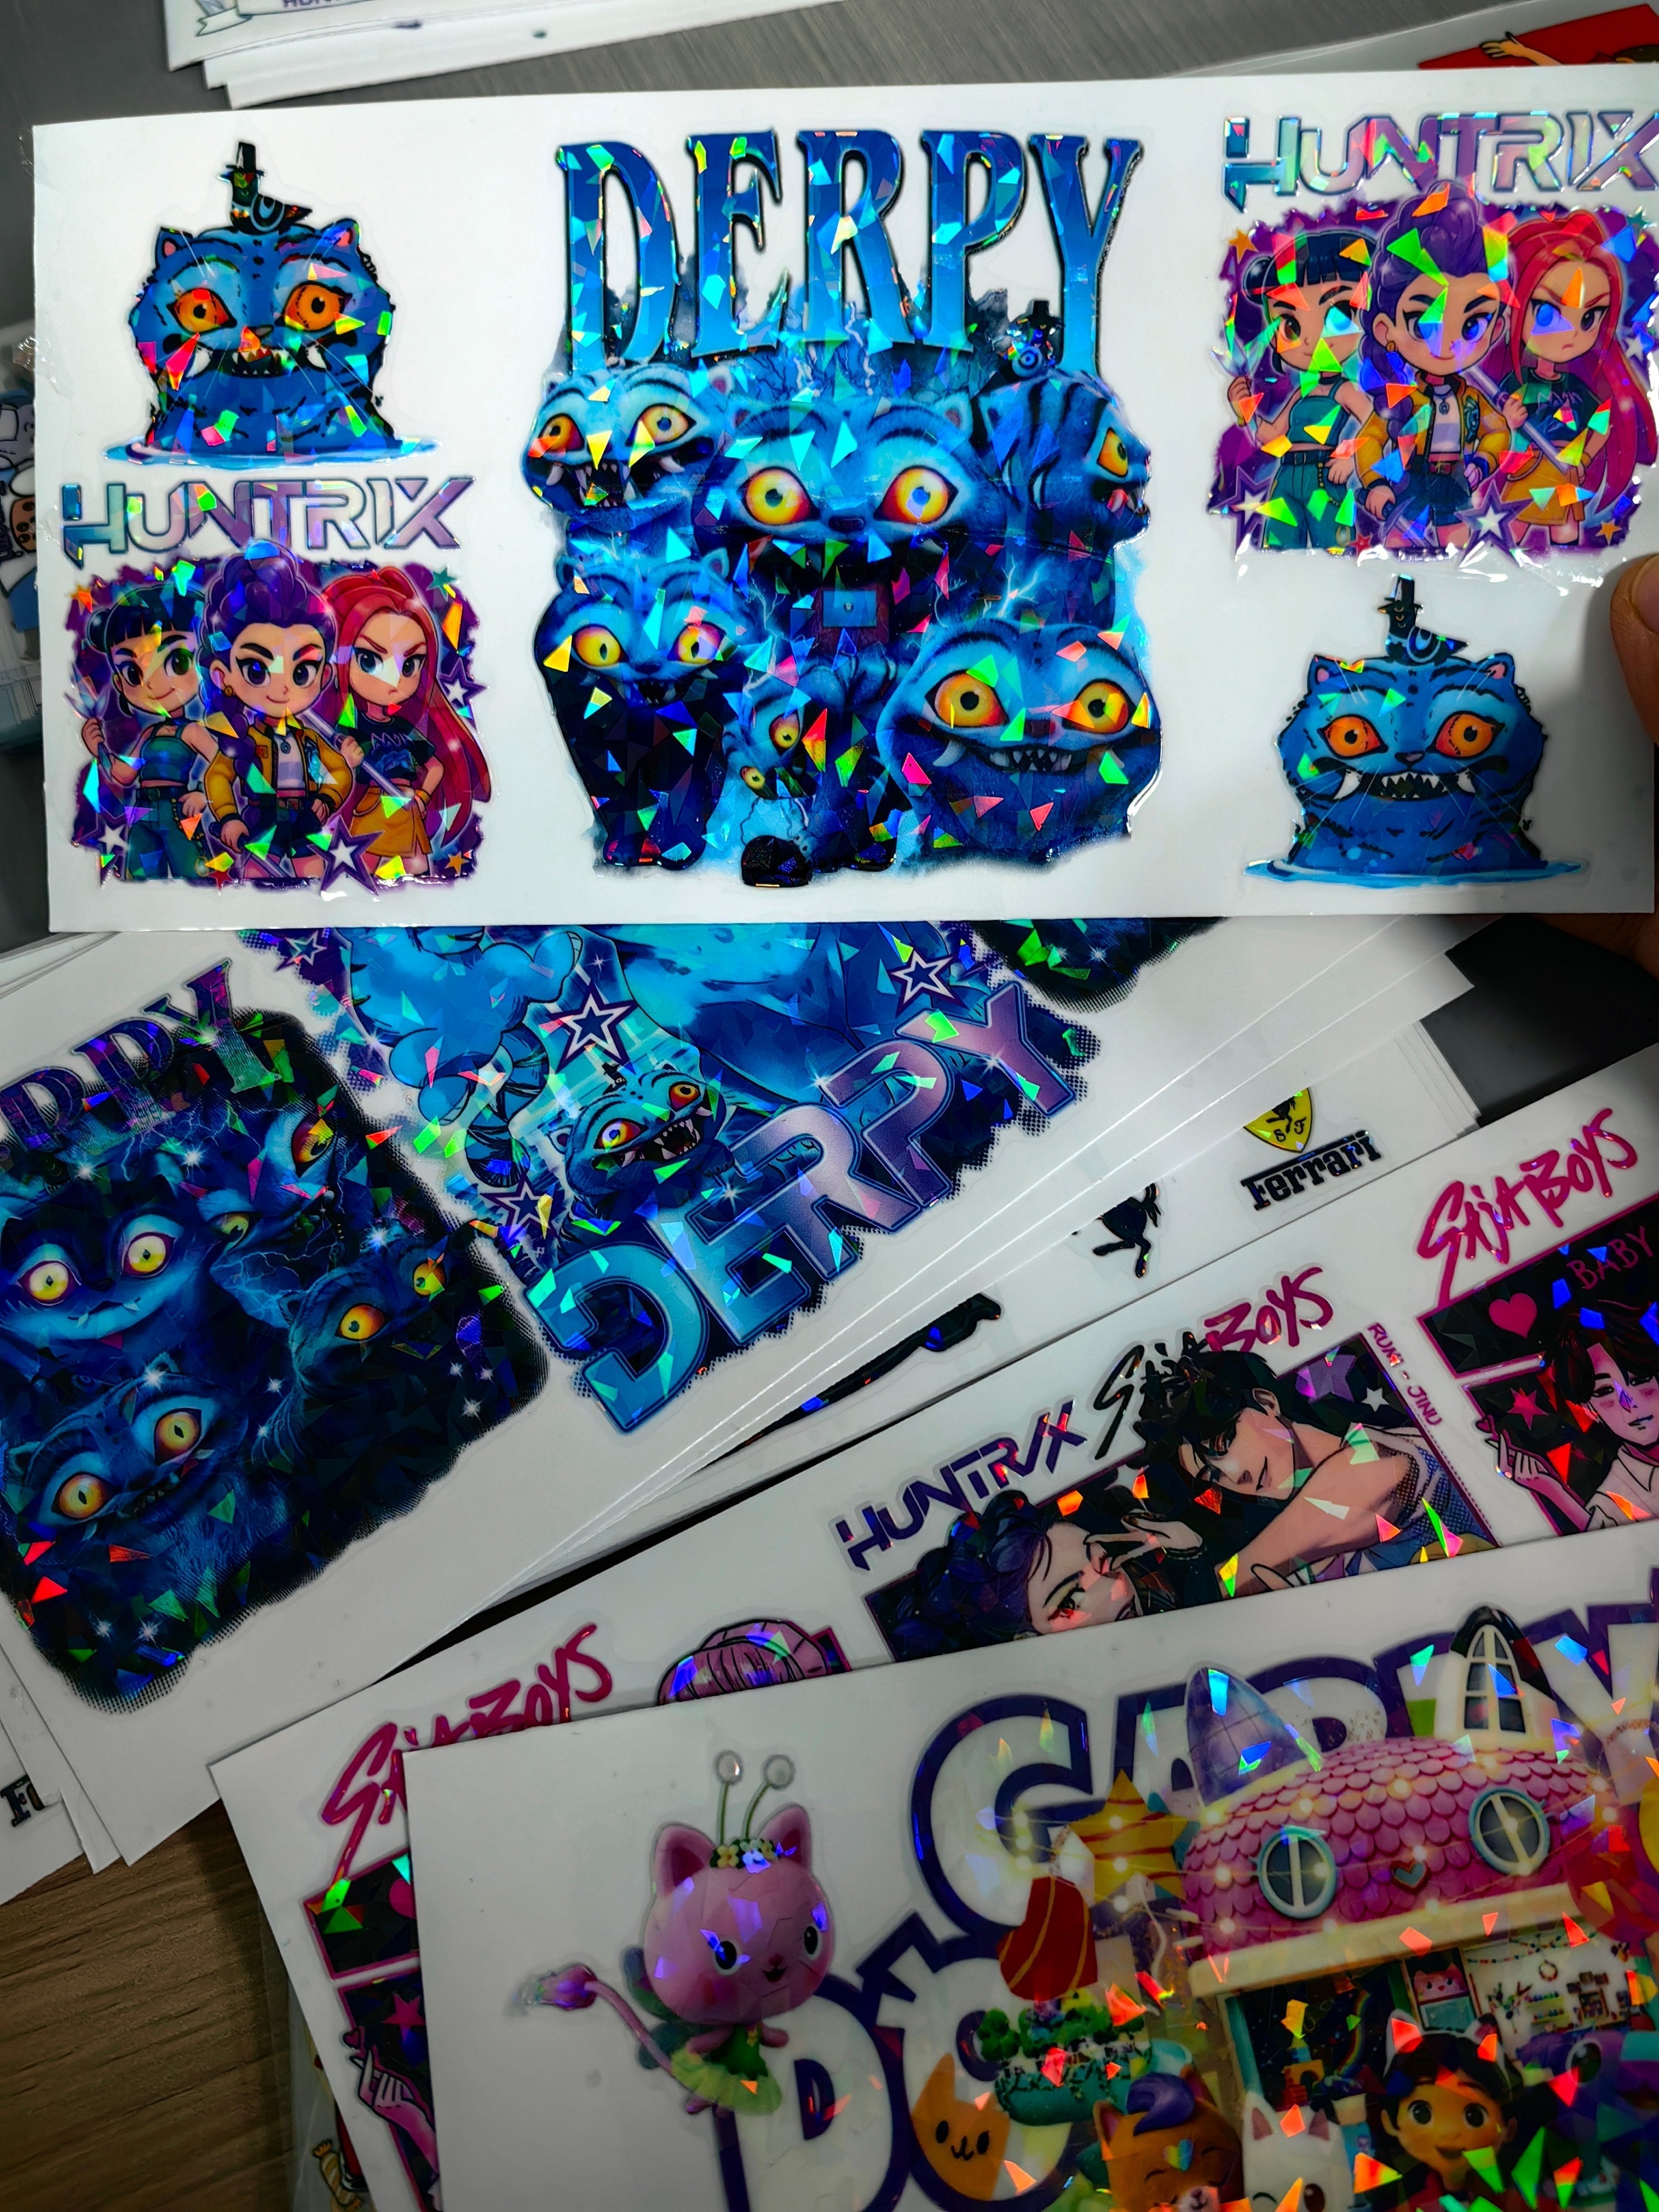
Step 5 — Peel & Apply. Peel the paper backing off the back of the sticker to expose the adhesive, position it on a clean, dry surface, and press or roll it down firmly from the center outward to push out any air. Once it's fully adhered, peel away the top B film carrier layer to reveal the finished, glossy sticker. No heat, no curing time — the sticker is done the moment the carrier comes off.
Common Problems & Where to Look
Bubbles under the sticker. Almost always an application issue rather than a print issue — press from the center outward rather than starting at one edge, use a squeegee on larger designs, and make sure the surface is completely clean and dry (oil, dust, or condensation all trap air underneath).
Edges won't stay stuck / lifting after a day or two. Usually points to either a surface prep issue (wipe the surface with rubbing alcohol before applying — fingerprint oils and residue are the most common culprit) or a film/adhesive quality issue if it happens consistently across many applications. Curved or textured surfaces also need firmer, more thorough pressing at the edges specifically, since that's where adhesive contact is weakest.
Colors look dull or washed out. Check your white ink layer first — insufficient white underlay is the most common cause, especially on clear or dark surfaces where the white layer is doing the work of making colors read as vibrant rather than translucent. It can also point to ink levels, printhead calibration, or a color profile mismatch in your RIP software.
Design doesn't line up with the cut line. This is almost always a bleed or registration-mark issue — confirm your artwork includes the bleed margin the cutter expects, and that registration marks are printing clearly and aren't being cropped by the print area. A cutter that's cutting slightly off from the printed design is worth recalibrating before running a full sheet, since misalignment compounds across a gang sheet of multiple designs.
SHL Supply's UV DTF Sticker Setup: A One-Stop Solution
If you'd rather not source a printer, ink, and film separately and troubleshoot how they work together, that's exactly what we built the UV DTF Sticker Production Kit to solve.
All-in-One Kit: UV DTF Sticker Production Kit
This kit bundles everything from the process above into one purchase: a 24" UV DTF printer with three Epson i3200-U1 printheads and inline lamination, an automatic contour vinyl cutter with camera-based registration-mark cutting, a roll of UV DTF A+B transfer film (24" × 328ft), and a full 1000ml CMYKW ink set. In practice, that covers every step from Print → Laminate → Cut → Apply without needing a separate laminator or manual trimming. The printer runs up to 9 square meters per hour and prints CMYK + White + Gloss Varnish in a single pass. It ships within 48 hours from our Los Angeles warehouse and comes with lifetime remote technical support.
Standalone Machines (If You're Starting Smaller)
If the full kit is more than you need right now, or you want to test the waters before committing to a complete production line, two standalone printers cover different starting points:
The 24" UV DTF Printer with Foil Attachment is the same core printer from the kit above — three Epson i3200-U1 printheads, inline lamination, CMYK + White + Gloss Varnish — for shops that already have (or want to source separately) their own cutter and film supply.
The A3 Multi-Function UV & UV DTF Printer is a more compact, lower-cost entry point built for small studios and beginners — one Epson DX7 printhead, roll printing up to 13" plus a 16.5"×12" flatbed, and three printing modes in one machine (UV flatbed direct printing, UV DTF transfer printing, and bottle/tumbler printing with a rotary attachment). It's a reasonable way to start small and confirm there's demand before scaling up to a wider, faster setup.
A practical way to choose between them: if you're testing UV DTF as a side product alongside an existing shop, or your order volume is still unproven, the A3 model's lower cost and multi-mode flexibility (flatbed, transfer, and rotary tumbler printing in one machine) makes it easier to justify. If you already know you'll be running consistent volume — an established Etsy shop moving into UV DTF, or a print shop adding it as a core product line — the wider, faster 24" printer avoids you having to upgrade again a few months in.
Film: UV DTF AB Film Roll
Whichever printer you start with, film quality matters just as much as the machine. Our UV DTF AB Film Roll (available in 24" and 12" widths, 328ft rolls) is PET-based, rated for 2–5 years of indoor/outdoor durability, and tested to work with UV DTF printers across brands — not just our own equipment.
Every printer, ink, and film combination we sell is compatibility-tested before it ships, which matters more than it might sound like: a lot of the frustration beginners run into with UV DTF isn't the concept, it's spending weeks dialing in ink density, cure settings, and film adhesion because the components weren't matched to begin with. Buying a pre-tested setup skips that trial-and-error entirely — you're printing sellable stickers on day one instead of week three.
Getting Started: What to Expect
If you're weighing whether this is worth the investment, it helps to have a rough sense of what a realistic ramp-up looks like — treat these as general reference points rather than guarantees, since actual results depend heavily on your pricing, marketing, and local demand.
A commonly cited expectation in the custom-print industry is that a small UV DTF operation running consistently — filling Etsy orders, local gift-shop wholesale, or direct sales — can recoup the cost of a starter setup in roughly 2–4 months, assuming steady order volume and reasonable per-unit pricing. That's not a promise of results, and plenty of factors (your niche, design quality, marketing effort, and local competition) will move that number in either direction. What it does tell you is that UV DTF's combination of no minimum order, fast turnaround, and premium per-unit pricing (see Article 7 for the durability and pricing advantages that support that) is what makes a faster payback plausible compared to equipment that requires large production runs to be profitable.
Practically, most new sellers start with a small, focused design catalog — a handful of proven, popular styles rather than dozens of untested ones — get comfortable with the application process on a few different surfaces, and expand their catalog once orders are coming in consistently.
What's Next: Beyond Just Stickers
Once you've got sticker production dialed in, the same printer, ink, and film setup opens the door to more than just tumbler decals — car decals, phone case wraps, packaging labels, and even small signage all use the same core process with different substrates. The next article covers exactly what other products and business directions UV DTF can extend into once you've mastered the basics.
FAQ
What printer do I need to make UV DTF stickers? You need a UV printer specifically built for UV DTF — one that prints CMYK, white, and typically a gloss varnish layer, and supports UV DTF AB film. Look for inline lamination if you want to skip a separate laminating step. Standard inkjet, laser, or garment DTF printers cannot produce UV DTF stickers.
Do I need a laminator for UV DTF stickers? Only if your printer doesn't have inline lamination built in. Printers with inline lamination (like the 24" UV DTF Printer with Foil Attachment) bond the A and B film automatically during printing. Without that feature, you'll need a separate laminator to combine the two film layers after printing.
How much does it cost to start a UV DTF sticker business? Equipment costs range widely based on scale — a compact starter printer like the A3 Multi-Function UV & UV DTF Printer runs around $6,000, while a complete production setup with an inline-lamination printer, contour cutter, film, and ink (like the UV DTF Sticker Production Kit) runs around $17,500. Ongoing costs are mainly film and ink, plus any packaging or shipping materials for your specific products.
Can beginners learn UV DTF printing quickly? Yes — UV DTF has a shorter learning curve than most print methods because there's no heat-press timing or pressure to master and no powder-curing step like garment DTF. Most of the learning curve is in file setup (white ink layers, bleed, sizing) and application technique (avoiding bubbles, prepping surfaces), both of which most beginners get comfortable with within their first few dozen stickers.
Ready to start producing? Shop the UV DTF Sticker Production Kit for a complete print-cut-laminate-apply setup, or request a quote if you want help picking the right configuration for your volume and budget.

Leave a comment
This site is protected by hCaptcha and the hCaptcha Privacy Policy and Terms of Service apply.