
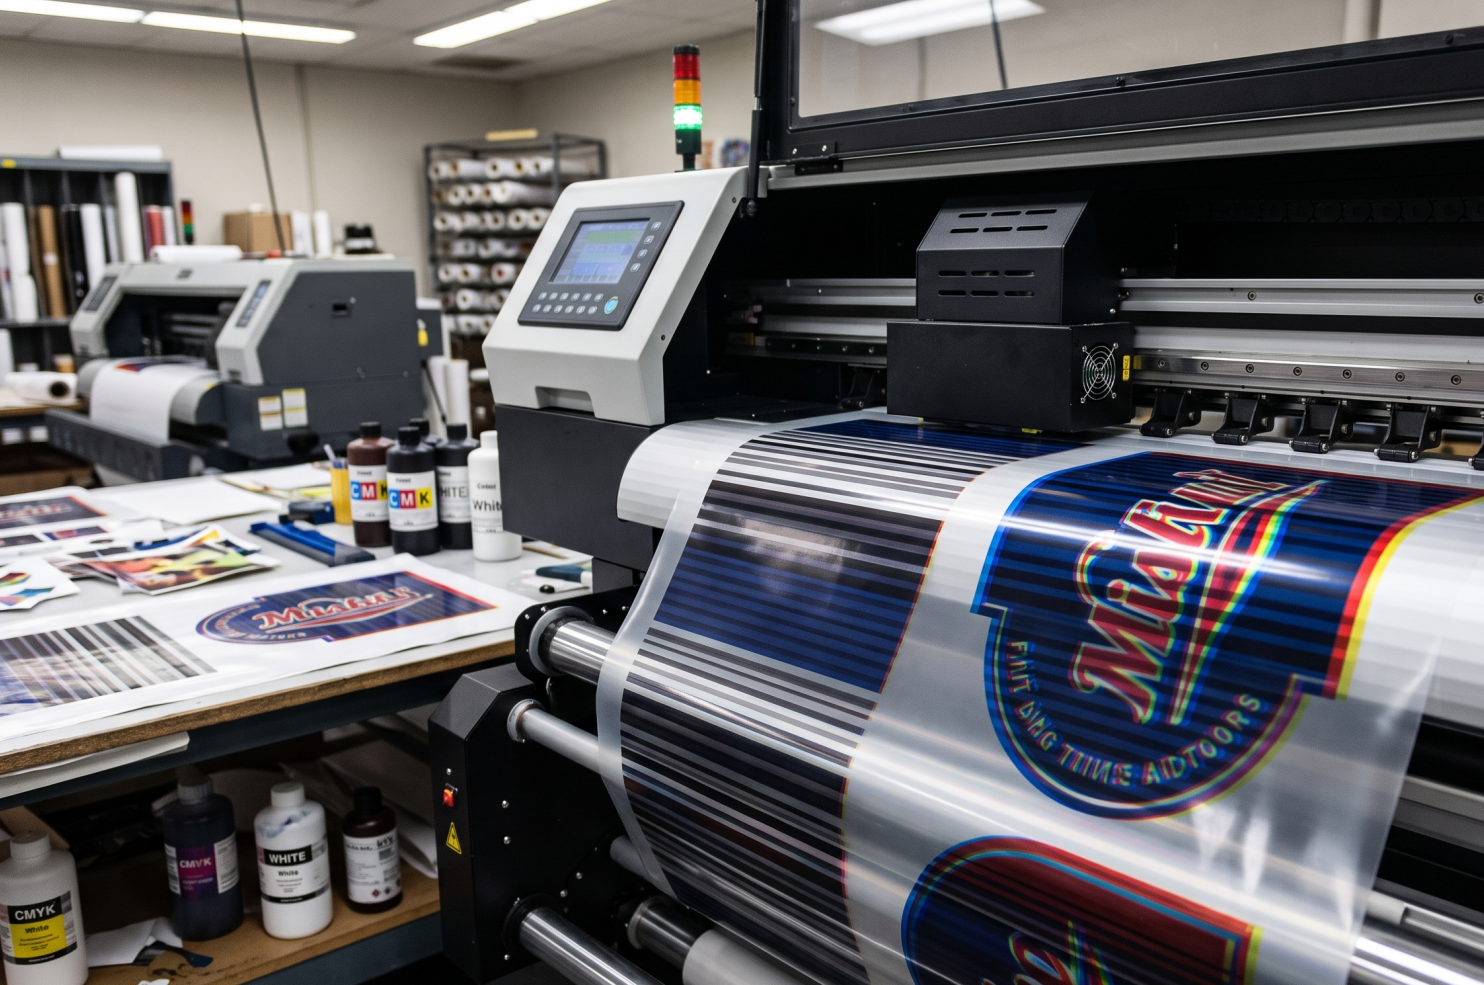
You pull a print off the platen and something's off — thin horizontal lines running across a solid color, or a design that just doesn't match the batch you printed last week. Before you start dragging sliders in your RIP software or re-flashing firmware, it's worth slowing down. UV DTF print banding lines and color shifting are two different problems with two different fixes, and treating them as the same issue is how shops end up chasing a printhead alignment problem with an ink change, or a viscosity problem with a hardware recalibration that never should have been needed.
This guide separates the two, gives you a diagnosis table you can hold up against your own prints, and walks through the alignment and circulation checks that resolve most banding and color-shift complaints without a service call.
Banding vs Color Shift: Two Different Problems, Two Different Fixes
Banding is a mechanical, repeating pattern — thin lines (usually horizontal, sometimes vertical) that show up at regular intervals across an otherwise solid fill. It's almost always tied to how ink is physically being laid down: printhead height, alignment, carriage movement, or a partially clogged nozzle row dropping out at a consistent interval.
Color shifting is different — it's not a line pattern, it's a difference in hue, saturation, or opacity, either across a single print or between one print run and the next using what should be identical settings. This points toward the ink itself (viscosity, pigment concentration, batch variation), your RIP color profile, or environmental factors like curing lamp output and ambient temperature.
The reason this distinction matters: if you're seeing UV DTF horizontal lines in print, adjusting your color profile won't fix it — you need to look at printhead alignment or nozzle health. If you're seeing UV DTF color inconsistent between prints with no line pattern at all, running another alignment cycle is unlikely to help — the issue is more likely sitting in the ink supply or your curing setup. Diagnose first, then fix — not the other way around.
Root Cause Diagnosis Table
Match what you're seeing against this table before adjusting anything.
| Symptom | Most Likely Root Cause(s) | Recommended Fix |
|---|---|---|
| Horizontal banding lines (regular interval, repeats across the print) | Printhead height set too high or too low; bidirectional alignment drift | Run a head-height check against your substrate thickness, then a full bidirectional alignment |
| Vertical streaking or fine lines running with the print direction | Partially clogged nozzle row; damper air bubbles | Print a nozzle check, clean the affected channel, and purge the ink line before reprinting |
| Overall color shift across a single print (e.g., a gradient looks flat or shifted) | Ambient/curing lamp temperature swings; RIP color profile mismatch | Let the printer and ink stabilize to a consistent room temperature; reverify your ICC/RIP profile against a fresh calibration print |
| Batch-to-batch color inconsistency (same file, same settings, different result week to week) | Ink viscosity instability between bottles or lots; inconsistent shake/mixing routine | Confirm ink batch/lot consistency with your supplier; standardize your pre-print shake routine; consider a lower-variance ink formula |
If a print shows more than one symptom at once — banding and a color shift, for example — work through them in order: fix the mechanical issue (alignment/nozzles) first, since a banding printhead can make it hard to judge color accuracy at all.
How to Run a Nozzle Check and Head Alignment
Work through these steps in order. Don't skip to alignment before confirming your nozzles are clean — aligning a printhead with clogged nozzles just locks in a bad reference point.
- Print a nozzle check pattern first. Every printhead alignment should start from a clean nozzle check — if any channel is missing lines, clean it before you touch alignment settings.
- Clean any flagged channels. Run a manual or automatic cleaning cycle on any channel with missing or broken lines, then reprint the nozzle check to confirm it's fully resolved.
- Confirm head height matches your substrate. Most banding issues that survive a clean nozzle check trace back to head height — too far from the substrate causes ink scatter and mechanical drift, too close risks head strikes and uneven deposition. Set head height to your printer manufacturer's spec for the substrate thickness you're running.
- Run the built-in bidirectional alignment test. Print your printer's alignment test pattern (usually a series of numbered vertical or horizontal bars) and select the number where the lines align most cleanly, not just "close enough."
- Print a test file with a solid color fill and a fine gradient. Solid fills expose banding fastest; gradients expose color shift fastest. Check both before returning to production.
- Re-run alignment after any head height or substrate change. Switching from film to a thicker rigid substrate, or changing platen height, can shift alignment even if nothing else changed — treat it as a new baseline, not a one-time setup step.
- Log the date and result. A simple maintenance log (date, nozzle check result, alignment result) makes it much faster to tell whether a new banding issue is sudden (points to a mechanical fault) or gradual (points to wear or an ink issue building up over time).
Why Ink Consistency Between Batches Matters
Here's the root cause most shops overlook: even with perfect alignment and clean nozzles, ink that varies from bottle to bottle or lot to lot will produce prints that don't match — and it's easy to blame the printer for something the ink is actually causing.
Viscosity is the key variable. UV DTF ink needs to sit within a tight viscosity window to jet consistently — droplet size, dot gain, and color density all shift when viscosity drifts even slightly outside spec. If one production batch of white or color ink comes in a little thicker or thinner than the last, you'll see it as a subtle color or opacity shift between print runs, even when your RIP settings, substrate, and curing setup haven't changed at all. This is exactly the kind of issue covered in more depth in our guide on UV DTF ink clogging your printhead — inconsistent viscosity doesn't just cause clogs, it causes the color drift that gets misdiagnosed as a printer problem.
The fix isn't just a maintenance routine — it's sourcing ink that's manufactured and QC-tested to a tighter viscosity tolerance in the first place, so batch-to-batch variation stops being a variable you have to compensate for.
Premium UV DTF Ink — Built for Batch Consistency
Inconsistent color between print runs is one of the hardest problems to troubleshoot because it doesn't look like an ink problem — it looks like a printer problem, a profile problem, or an operator error. Sourcing ink that's manufactured to a controlled viscosity spec, batch after batch, removes that variable entirely.
SHL UV DTF Ink — CMYKW, 1000ml
- Factory-matched to Epson i3200-U1 and XP600 printheads for consistent droplet formation
- Each production batch is manufactured under ISO9001 process controls to stay within a tight viscosity tolerance, reducing shot-to-shot and batch-to-batch color drift
- High-opacity, low-sediment white ink for stable jetting between shakes
- CE / RoHS / REACH certified
- 24-month shelf warranty with a 1:1 replacement policy
Pairing consistent ink with a regular alignment and nozzle-check routine is what actually closes the loop on both banding and color-shift complaints — one without the other still leaves a variable you can't fully control.
Order Locally, Get Support Locally
Because we stock and ship from our own facility, you're not waiting weeks on ink that's crossed an ocean before it reaches your printer — and if a batch ever looks off-spec, you're talking directly to the people who made it, not a reseller with no visibility into production.
SHL LA Supply — 12155 Mora Dr, Santa Fe Springs, CA 90670
Phone: 562-203-5165 | Email: info@shl-supply.com
Hours: Monday–Friday, 9:00am–5:00pm (PT)
Shipping: Orders ship within 48 hours; free shipping on orders over $799; local pickup available at our Santa Fe Springs location
After-Sales: Backed by our money-back guarantee — report any defect or off-spec batch within 5 days of receipt and we'll issue a free replacement or return, no 15–35% restocking fee applied to defective items
FAQ
How often should I run a nozzle check?
At the start of every shift, before your first production print, and again any time you notice a color or banding issue mid-run. It only costs a few seconds of ink and time, and catching a clogged channel before a production run saves far more than the cost of the check itself.
Do I need to recalibrate color when switching ink brands?
Yes. Different ink formulas have different pigment density, opacity, and color characteristics even within the same nominal CMYKW naming, so your existing ICC/RIP color profile was built around your old ink's behavior. Run a fresh calibration print and rebuild or import a profile matched to the new ink before running client work on it.
Does temperature really affect color?
Yes, in two ways. First, ink viscosity itself is temperature-sensitive, and viscosity changes affect droplet size and dot gain, which shows up as color and density shifts. Second, UV curing lamp performance and cure quality can vary with ambient shop temperature, which affects how the final color looks and holds once cured. Keeping both your ink storage area and your print environment within a stable, moderate temperature range removes one more variable from the equation.
Still dealing with clogs on top of banding or color issues? Read our companion guide, UV DTF Ink Clogging Your Printhead? Storage, Shaking & Viscosity Fixes, for the full shake routine and cleaning steps that keep ink flowing before it ever affects print quality.

Leave a comment
This site is protected by hCaptcha and the hCaptcha Privacy Policy and Terms of Service apply.