
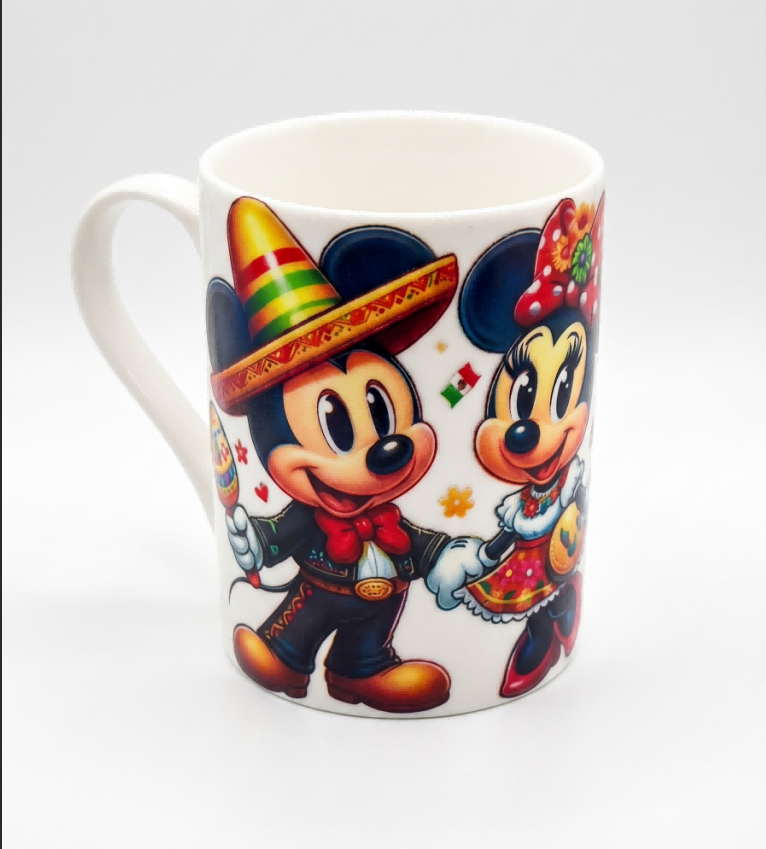
You've seen the crystal sticker look — that glossy, slightly domed, almost gem-like texture that makes a UV DTF decal feel three-dimensional under your fingertip. You print your own design, and it comes out flat. Glossy, sure, but no dome, no raised edge, none of the tactile "pop" you were expecting. If your prints suffer from UV DTF not 3D effect despite using a UV DTF printer that's technically capable of it, the problem almost never sits in the printer's hardware — it sits in how the varnish layer is built.
This guide clears up the biggest misconception about the crystal 3D look, gives you a settings comparison to plan your own layer builds, walks through how to stack varnish without cracking, and explains why cheap varnish ink often can't produce the effect no matter how many passes you run.
What Actually Creates the "3D Crystal" Look
Here's the misconception worth clearing up first: there's no dedicated "3D mode" button on a UV DTF printer, and no printer produces the crystal look automatically just because it's UV DTF-capable. The 3D crystal effect is purely physical — it comes from stacking multiple passes of clear varnish ink on top of each other, with each pass cured before the next is applied, until the buildup has enough actual physical height to read as raised and domed rather than flat.
Each varnish pass adds a thin, cured layer of resin. A single pass is essentially a gloss coating — it protects and shines, but it's too thin to create noticeable height. Stack several passes and the accumulated thickness starts to physically dome over the printed artwork, refracting light at the edges the way a real gem or resin cabochon does. That refraction, combined with the tactile raised surface, is what reads as "3D" or "crystal" to the eye and the touch. UV DTF crystal sticker flat results are almost always a sign that too few varnish passes were used, not that the printer or design was wrong.
Varnish Layer Settings Comparison Table
Use this table to plan how many varnish passes a given effect requires, and what tradeoffs come with going thicker.
| Varnish Layers | Visual Effect | Approx. Cure Time (per full stack) | Common Issues at This Level |
|---|---|---|---|
| 1 layer | Standard gloss finish, flat surface, no visible dome | Seconds per pass (single pass) | None specific — this is the baseline protective coat, not a 3D effect |
| 2–3 layers | Slight raised texture, subtle edge highlight | A few minutes total, with brief cure pauses between passes | Minimal, if each layer is fully cured before the next |
| 4–6 layers | Visible dome, clear "crystal sticker" look | Longer, with deliberate cure intervals between each pass | Edge unevenness if passes aren't centered/aligned consistently |
| 7+ layers | Thick, pronounced crystal dome | Longest — requires careful staged curing, not a single continuous run | Higher risk of cracking, yellowing at the core, or delamination if layers are stacked too fast |
Most shops selling a "crystal sticker" product land in the 4–6 layer range as the sweet spot between a genuinely noticeable 3D effect and manageable production time. Going beyond that adds diminishing visual return while meaningfully increasing the risk of the problems covered in the next section.
How to Build a Proper 3D Effect Without Cracking
Stacking varnish too aggressively is the single most common cause of cracked or delaminated crystal stickers. Follow this sequence to build height safely.
- Start with a fully cured base layer. Your CMYK and white layers should be completely cured before the first varnish pass begins — printing varnish over uncured ink underneath traps uncured material and weakens the whole stack.
- Print varnish in planned passes, not one continuous flood. Decide your target layer count up front (per the table above) rather than improvising mid-print.
- Allow each layer to cure before the next pass. This is the step most responsible for cracking when skipped — a layer that looks dry on the surface can still be soft underneath, and adding more resin on top before it's fully cured creates internal stress as the layers cure unevenly.
- Watch your UV lamp output between passes. A degrading or underpowered lamp can under-cure inner layers even if the surface looks glossy, setting up the same delayed-cracking risk described above.
- Keep passes centered and consistent. Slight misalignment between varnish passes creates uneven edges, which both look messy and concentrate stress at the thin points — a common site for cracks to start.
- Let the finished stack fully cure and stabilize before flexing or cutting. Crystal stickers are most vulnerable to cracking in the hours immediately after printing, before the full resin stack has finished stabilizing — handle finished sheets gently until you've confirmed a batch cures cleanly.
- Test a small batch at your target layer count before a full production run. Confirm the dome height, clarity, and crack resistance hold up on your actual substrate before committing to volume.
Why Cheap Varnish Ink Looks Flat or Cloudy
Even with the layering technique above, varnish ink quality determines whether the result looks like a clear, glassy crystal or a cloudy, uneven blob. A few common shortcomings in lower-quality varnish formulas:
- Poor clarity or a slight yellow/amber tint, which becomes more visible as more layers are stacked — a tint that's barely noticeable in one layer is obvious in five.
- Weak self-leveling properties, meaning the ink doesn't settle into a smooth, even dome and instead shows visible ridges or an uneven surface, especially at layer edges.
- Insufficient photoinitiator content, leading to the same under-curing issue covered earlier — cloudy or hazy patches where the resin hasn't fully polymerized, particularly in the center of thicker stacks where light penetration is weakest.
- Inconsistent viscosity, which causes the ink to spread thin instead of holding its shape and building height — resulting in a flatter result even after the same number of passes a higher-quality varnish would use to build a visible dome.
If your layer technique is correct and you're still getting flat, cloudy, or uneven results, the varnish formula itself is the most likely remaining variable.
Premium UV DTF Ink — A Varnish Channel Built for Real Height
A crystal sticker effect depends entirely on the varnish channel doing its job cleanly through multiple stacked passes — clear, consistent, and fully curable layer after layer.
SHL Premium UV DTF Ink — CMYK + White + Varnish, 1000ml Set
- Full 6-bottle set including a dedicated Varnish (clear/gloss) channel formulated for clean, stackable layering
- Waterproof, scratch- and UV-fade resistant once fully cured — holds up under handling once the crystal effect is built
- Compatible with Epson XP600, i3200U1, TX800, and DX5/DX7 printhead families
- Instant UV/LED cure with a soft, flexible resin formula that resists brittleness even in multi-layer stacks
- 7-day money-back guarantee
Getting the crystal 3D look right is a combination of technique and ink quality — the layering method in this guide works with any varnish, but a clear, consistent formula is what keeps a 5- or 6-layer stack looking glassy instead of cloudy.
Order Locally, Get Support Locally
Because we stock and ship ink from our own facility, you're not waiting weeks on a varnish formula that crossed an ocean before you can test how it stacks and cures — and if a batch doesn't perform the way it's supposed to, you're talking directly to the people who made it, not a reseller.
SHL LA Supply — 12155 Mora Dr, Santa Fe Springs, CA 90670
Phone: 562-203-5165 | Email: info@shl-supply.com
Hours: Monday–Friday, 9:00am–5:00pm (PT)
Shipping: Orders ship within 48 hours; free shipping on orders over $799; local pickup available at our Santa Fe Springs location
After-Sales: Backed by our money-back guarantee — report any defect within 5 days of receipt for a free replacement or return, no 15–35% restocking fee applied to defective items
FAQ
Will a too-thick varnish layer crack?
Yes, if it's built incorrectly. Cracking usually isn't caused by layer count alone — it's caused by stacking passes faster than each layer can fully cure, which traps internal stress as the resin cures unevenly. A properly staged 6- or 7-layer build, with adequate cure time between passes, is generally more stable than a thinner stack rushed through without pauses.
What's the maximum number of layers you can stack?
There's no universal hard limit, but practical results typically top out in the 6–8 layer range for most shops — beyond that, cure time, ink cost, and crack risk increase faster than the visual benefit. If you need a more pronounced dome than an 8-layer stack provides, it's worth testing whether your varnish formula and cure setup can support it before scaling into production.
Can you get a 3D effect without a Varnish channel?
Not a genuine one. Some shops attempt to fake dimensionality using design tricks like shadows and highlights printed in the CMYK layers, but that only creates a visual illusion of depth on a flat surface — it won't produce the actual raised, tactile dome that defines a true crystal sticker. A dedicated varnish channel capable of multiple clean passes is required for a real physical 3D result.
Working on dark-background designs alongside your 3D stickers? Read our companion guide, UV DTF White Ink Not Opaque on Dark Tumblers? Underbase Layering Fixed, for the flashlight opacity test and double white layer setup that keeps colors vibrant on dark substrates.


Leave a comment
This site is protected by hCaptcha and the hCaptcha Privacy Policy and Terms of Service apply.