
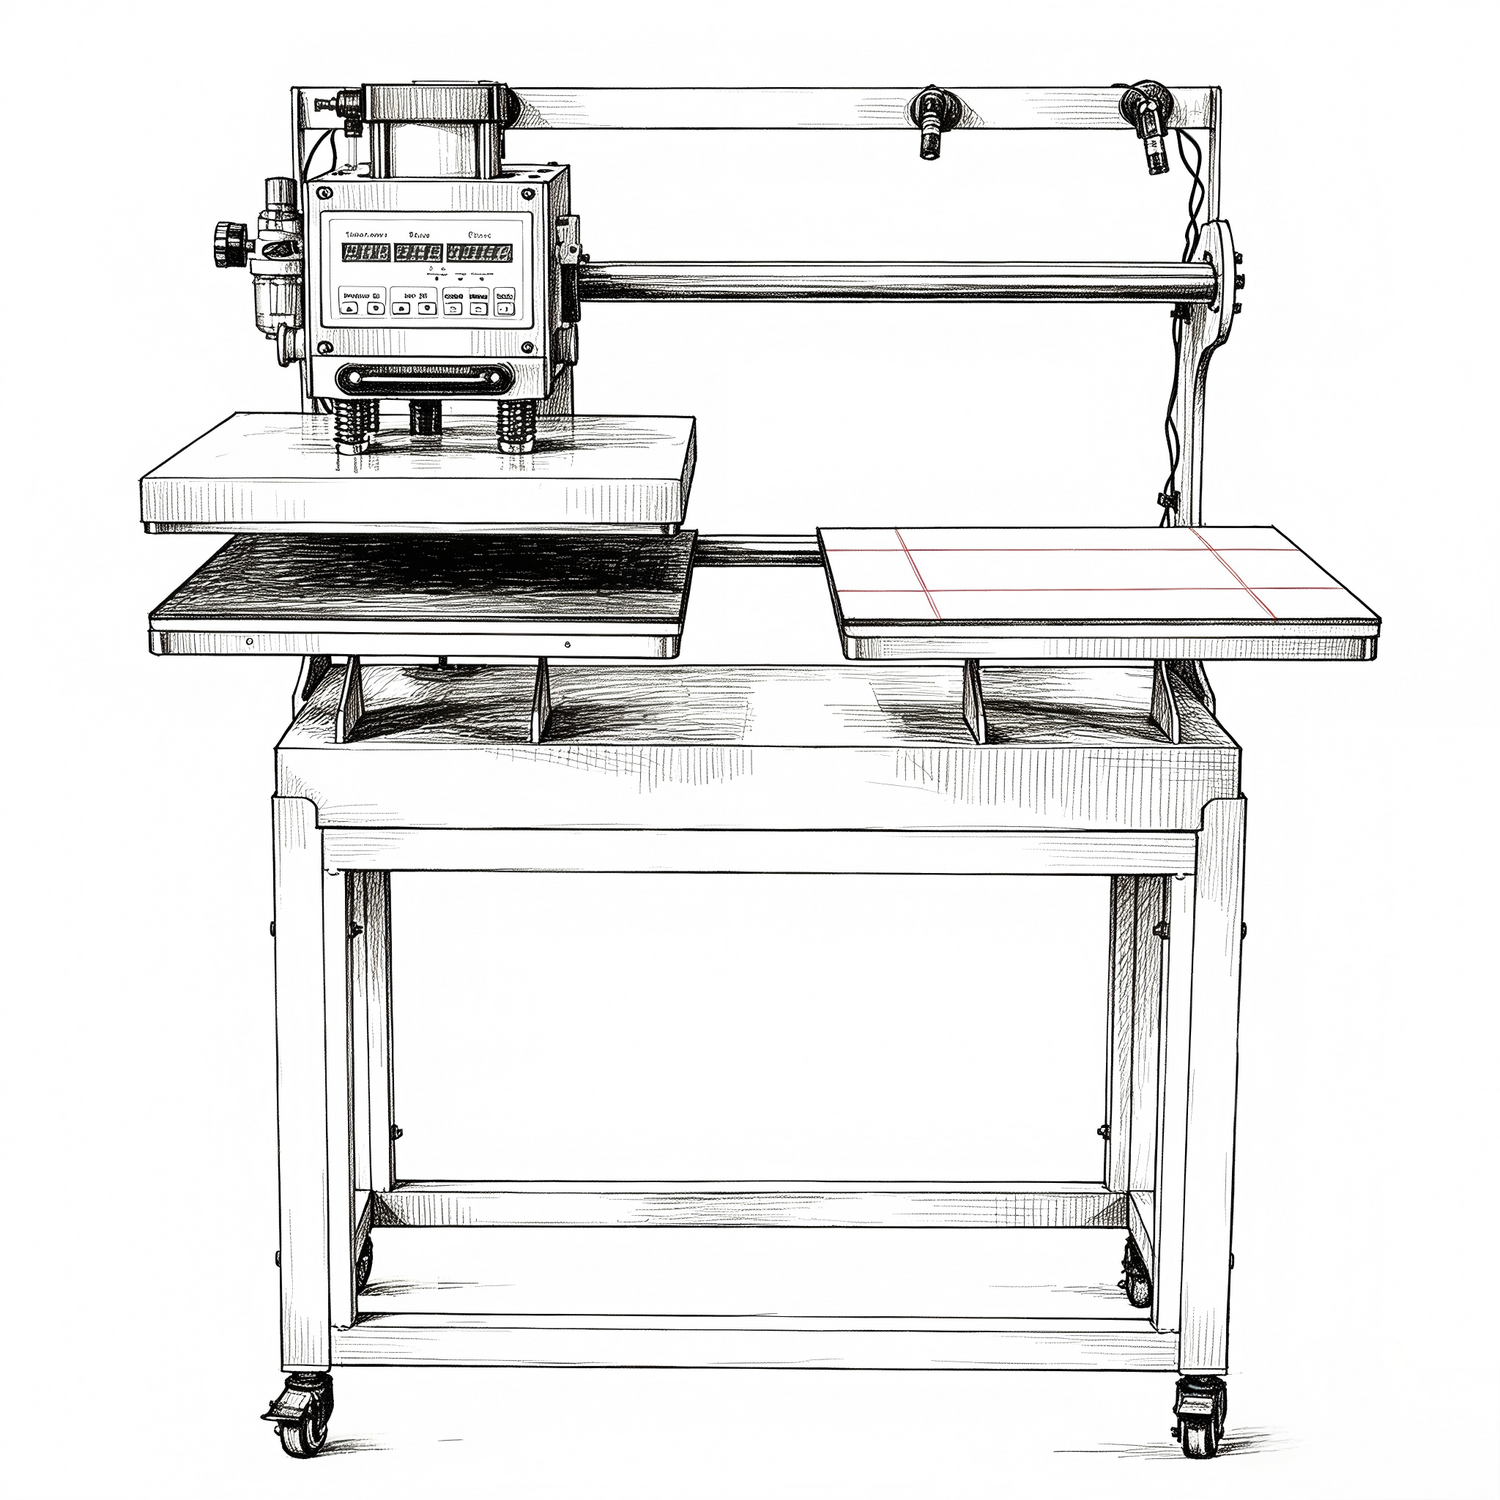
The middle of your gang sheet presses perfectly. The corners peel up with the film, or lift after the first wash. You've already re-pressed twice and blamed the powder, the film, even the shirts. In most production shops we diagnose from our Los Angeles service center, the real culprit is the heat press itself — and you can prove it in under 15 minutes with a strip of paper and a $25 infrared thermometer. This guide shows you exactly how.
Why Gang Sheets Fail Where Single Transfers Don't
A single 10" left-chest transfer sits in the center of your platen — the best real estate on any heat press. A full 16" x 24" gang sheet uses every square inch, including the zones where most presses are weakest: the corners and edges.
Two physical problems get amplified at full-platen scale:
- Pressure fall-off. A manual clamshell press applies force through a single center pivot point. Force radiates outward from that point, and by the time it reaches the corners it can drop by 30–50% compared to the center. On a small transfer you never notice. Across 384 square inches of gang sheet, the corners simply never reach the 40+ PSI of even contact pressure that TPU adhesive powder needs to flow into fabric fibers.
- Temperature fall-off. Heating elements are densest at the platen center, and edges lose heat to open air. A platen reading 320°F at its center thermostat can be running 285–295°F at the corners — below the melt-flow window of most DTF powders. The controller says everything is fine, because the controller only knows about one sensor in the middle.
DTF transfers need three things at every point of the sheet simultaneously: roughly 310–325°F, medium-firm even pressure (about 40–60 PSI), and 10–15 seconds of dwell time. Time is uniform by definition. Temperature and pressure are not — and that's why a gang sheet fails at the corners while the center looks flawless. If your peeling problem is across the whole sheet rather than localized, the cause is more likely curing or powder-related — see our guide on diagnosing print-side failures and check your powder cure before blaming the press.
Before you spend a dollar on fixes, run the two tests below and find out which problem you actually have. Many shops have both.
Test 1 — The Paper Pull Test for Pressure (5 Minutes)
This is the classic technician's test for pressure distribution, and it costs nothing.
You'll need: five strips of ordinary receipt paper or printer paper, roughly 1" x 6" each.
- Heat the press to your normal DTF temperature (310–325°F). Pressure behaves differently on a cold platen — always test hot.
- Place one strip at each corner and one in the center of the lower platen, with about 3 inches of each strip hanging off the edge so you can grab it. For the center strip, position it so a tail reaches the front edge.
- Close the press at your normal production pressure setting. Do not add extra pressure for the test — you're testing what your transfers actually experience.
-
Pull each strip, one at a time, while the press stays closed. Grade the resistance:
- Won't move or tears: full pressure at that point. ✔
- Slides out with firm resistance: marginal — this zone is at the edge of failure.
- Slides out easily: a dead zone. Any transfer under this spot is being pressed by heat and hope alone. ✘
- Record the result on a simple sketch of the platen: mark each of the five points ✔ / marginal / ✘.
A healthy press tears or locks all five strips. The most common failure pattern we see on manual clamshells is center ✔, front corners marginal, rear corners ✘ — a direct signature of a center-pivot frame flexing under load. If one specific corner is always the loose one, check for a worn bushing, a bent platen arm, or debris under the lower platen pad before assuming frame flex (see FAQ below).
Test 2 — Mapping Cold Spots with an IR Thermometer (10 Minutes)
Pressure was only half the story. Now map the heat.
You'll need: an infrared thermometer (about $25 at any hardware store) or, better, a surface probe thermometer. Note: shiny aluminum platens can throw IR readings off — if your upper platen is bare metal rather than coated, lay a sheet of parchment over it and measure through the parchment for consistent emissivity.
- Set the press to 320°F and let it stabilize for 15 full minutes. Platens overshoot and settle; measuring too early gives false variance.
- Divide the upper platen into a 9-point grid: four corners, four edge midpoints, center — like a tic-tac-toe board.
- Measure each point from a consistent distance (2–3 inches), moving quickly so the first and last readings are within the same heating cycle. Write each number on your grid sketch.
- Repeat the full grid twice more, 2 minutes apart, and average the three readings per point. Single readings lie; averages don't.
- Calculate your spread: hottest point minus coldest point.
The pass/fail standard:
- Spread ≤ 10°F: production-grade uniformity. Heat is not your problem.
- Spread 10–20°F: workable for small transfers, risky for full gang sheets. Corners at the bottom of that range are flirting with under-cure.
- Spread > 20°F: your platen cannot reliably press a 16x24 sheet. A corner running 295°F while the center runs 320°F will under-melt the adhesive every single time, no matter how long you press.
Now overlay your two sketches. Wherever a pressure dead zone and a cold zone coincide — almost always a rear corner — you've found the exact spot your gang sheets have been failing. You're no longer guessing.
Fixes by Budget: From Free to Root-Cause
There are three tiers of fix. Be honest about which tier your production volume needs — the free fixes are real, but they have hard ceilings.
| Tier | What you do | What it solves | Hard limits | Right for |
|---|---|---|---|---|
| Free | Avoid the dead zones: place critical designs toward the platen center; downsize gang sheets to 16x20 usable area; rotate the sheet and double-press so each corner gets one center-adjacent press. | Immediate stop-loss — reject rate drops today. | You're paying for a 16x24 press and using ~70% of it. Double-pressing halves throughput and risks over-curing the center (cracking). | Getting through this week's orders while you fix the real problem. |
| Under $50 | Add a quality 0.3–0.4" silicone pad to the lower platen (compensates small flatness errors); re-torque the pressure adjustment and pivot bolts; shim a consistently low corner; replace a crushed lower pad. | Recovers a press that's merely worn or slightly out of true. Can pull a 15°F spread and marginal corners back into spec. | Cannot fix frame flex or sparse edge heating elements — those are built into the machine's design. Shimming drifts and needs re-checking monthly. | Presses that tested marginal (not dead) and shops under ~50 sheets/day. |
| Root cause | Move to a pneumatic press, where an air cylinder applies force across the entire platen instead of through one pivot point. | Eliminates pressure fall-off mechanically. Every press cycle is identical at every point, at any throughput, all shift long. | Requires an air compressor (6-gallon, 90–120 PSI) and ~$1,699 of capital. | Shops pressing full gang sheets daily, or anyone whose reject costs exceed ~$150/month. |
Run the math on that last row: if corner failures are costing you three garments a day at a $12 blank-plus-transfer cost, that's roughly $1,080 per month in rejects and re-presses — a pneumatic press pays for itself in about seven weeks, before counting the labor you stop spending on re-pressing.
Manual vs Pneumatic: The Physics of Even Pressure
Here's why no amount of adjustment fully fixes a manual clamshell for gang sheet work.
A manual press transmits your arm strength through a cam and a single pivot. Three consequences follow: force concentrates at the geometric center; the frame flexes measurably under full clamping load, lifting the corners by fractions of a millimeter (which is all it takes); and the actual pressure varies with the operator — your morning press and your 4 PM press are not the same press.
A pneumatic press replaces the pivot with an air cylinder driving the platen straight down. Set the regulator once — DTF gang sheets typically run in the 0.4–0.6 MPa (58–87 PSI) band, with headroom to 0.8 MPa (116 PSI) for heavy substrates — and the compressor delivers exactly that force on every cycle. The paper pull test on a properly set pneumatic press tears all five strips, every time, whether it's the first press of the morning or the four-hundredth of the shift. Operator fatigue stops being a quality variable, which matters more than most owners expect once daily volume passes a few dozen sheets.
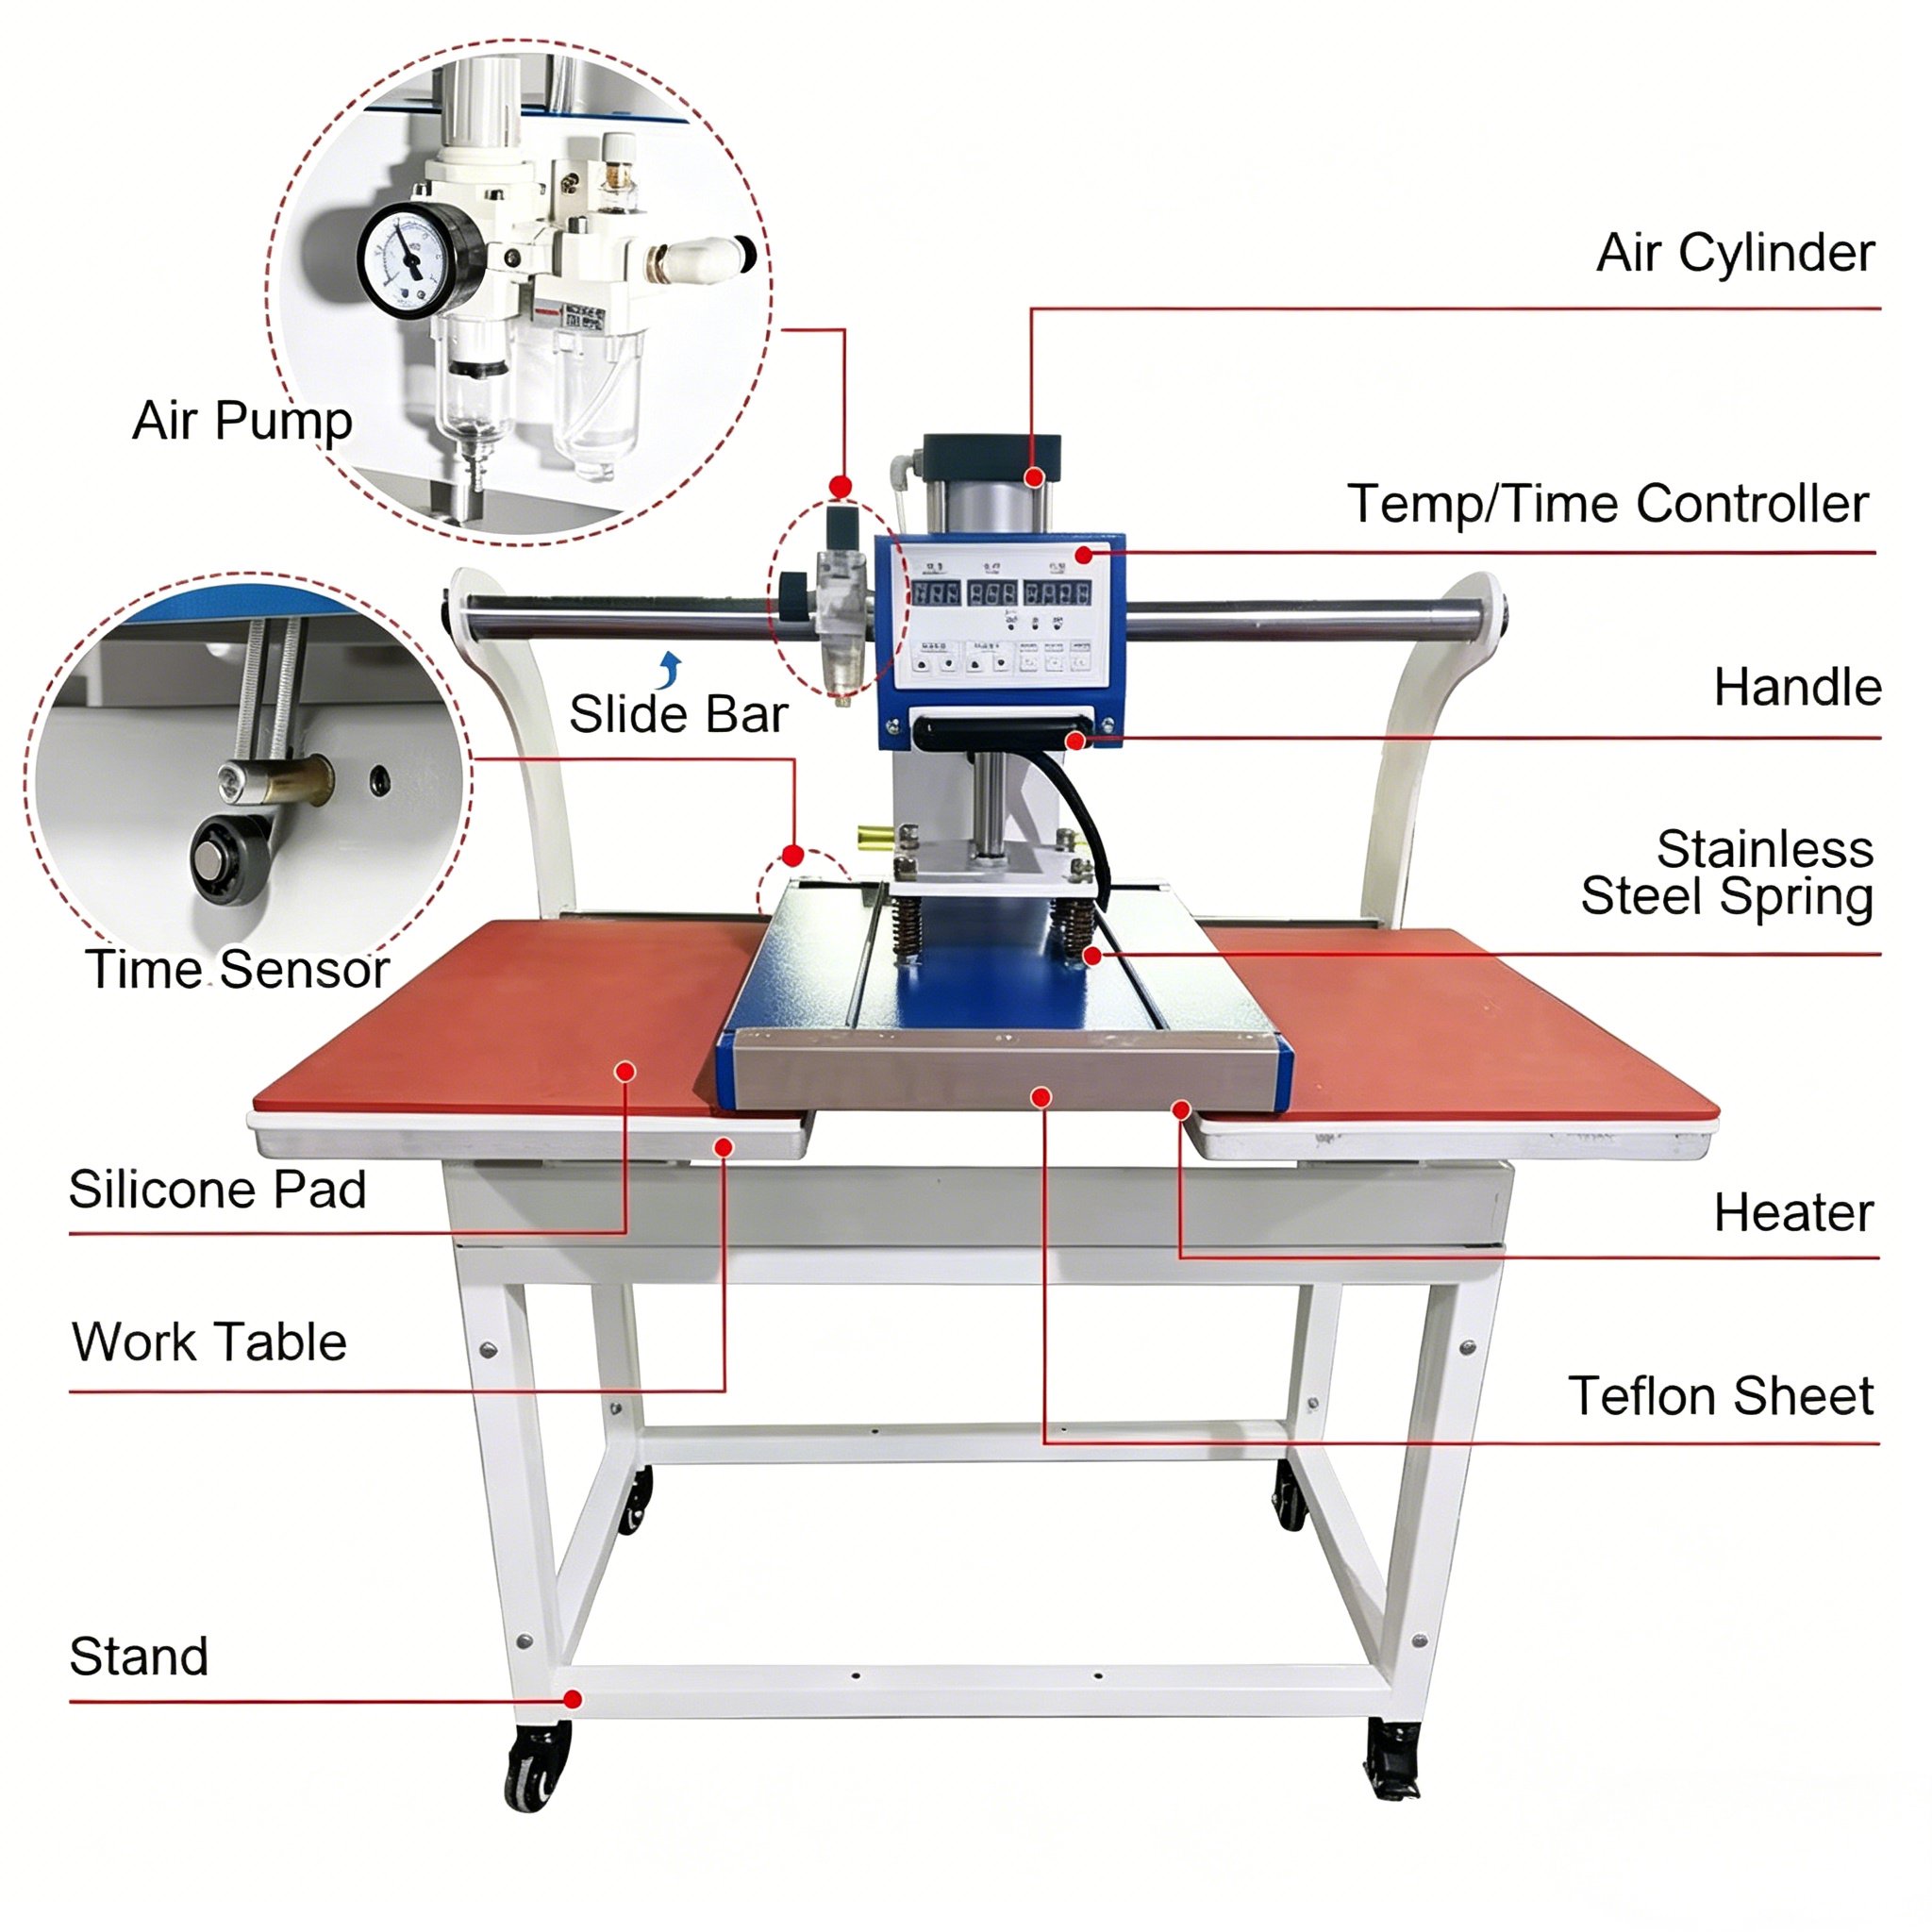
⚙ SHL 16x24 Pneumatic Sliding Dual Platen Heat Press — $1,699
Full gang-sheet platen with air-cylinder pressure adjustable to 0.8 MPa (116 PSI), laser alignment, digital time/temp/counter control, and a dual-station sliding design that lets you load one platen while the other presses — roughly doubling hourly output. 110V/220V. In stock at our Los Angeles warehouse, ships within 48 hours, with local parts inventory and lifetime US-based tech support.
In Southern California? Test it on your own gang sheets. Bring your printed film to our Santa Fe Springs showroom, run the paper pull test on our pneumatic press yourself, and press your own sheets before you spend a dollar. Book an in-store demo at 562-203-5165.
FAQ: Gang Sheet Pressing Problems
Why is it always the same corner that won't stick?
A repeatable single-corner failure is a mechanical signature, and it's actually good news — it's diagnosable. In order of likelihood: a crushed or uneven lower platen pad at that corner, a worn pivot bushing letting the upper platen tilt, a bent platen arm from years of over-clamping, or a heating element weak at that specific edge. Your two test sketches tell you which: if the corner failed the paper test but passed the temperature map, it's mechanical (pad, bushing, shim). If it failed the temperature map, it's the element — and elements are rarely economical to repair on entry-level presses.
Should I press gang sheets longer than single transfers?
No — and adding time to compensate for weak corners actively damages the sheet. Adhesive melt-flow is driven by reaching temperature under pressure, not by accumulating seconds. A corner at 290°F and half pressure won't bond at 15 seconds or at 30; meanwhile the properly-pressed center over-cures, turning brittle and prone to cracking after wash. Keep dwell at the standard 10–15 seconds and fix the distribution problem instead.
Can a second press rescue corners that didn't stick?
Sometimes — as triage, not as a process. Re-press the failed corner repositioned toward the platen center, with parchment cover, for 5–7 seconds. If the adhesive never reached melt temperature on the first press it can still bond on the second. But understand what a permanent double-press workflow costs you: throughput cut in half, a center zone that gets double heat exposure and starts cracking, and a defect you're hiding rather than fixing. If more than 1 in 20 sheets needs a rescue press, your press has failed the tests above — treat the cause.
What PSI should I set a pneumatic press to for DTF gang sheets?
Start at 0.4–0.5 MPa (58–72 PSI) on the regulator for standard cotton and blends, and verify with the paper pull test — all five strips should lock. Move up toward 0.6 MPa (87 PSI) for heavy fleece and hoodies where the garment thickness absorbs pressure. Reserve the 0.8 MPa (116 PSI) ceiling for dense substrates like leather patches. Once set, the regulator holds that value for every press — that consistency is the entire point.
Still Stuck? Get a Free Diagnosis From Our LA Tech Team
Send us photos of your two test sketches — the pressure map and the 9-point temperature grid — and our technicians will tell you exactly what's wrong with your press and whether it's worth fixing. Call our Los Angeles tech team at 562-203-5165 (Mon–Fri, 9 AM–5 PM PT) for a free diagnosis, or book a showroom demo and bring your own gang sheets to press.
📥 Want the printable version? Subscribe to our newsletter and get the free PDF: "Heat Press Test Kit — Paper Pull Test + 9-Point Temperature Map Worksheets" — print it, test your press this afternoon, and keep the completed sheets as your press's baseline record.

Leave a comment
This site is protected by hCaptcha and the hCaptcha Privacy Policy and Terms of Service apply.