
Your color channels print fine, but white is gone — faded, banding, or missing entirely. Before you order a new printhead, work through this guide. In our Los Angeles service center, roughly 8 out of 10 "dead printhead" calls turn out to be recoverable clogs that cost nothing but 30 minutes and some cleaning solution.
Why White Ink Clogs 10X More Than Color Ink
DTF white ink is not just "ink that happens to be white." Its opacity comes from titanium dioxide (TiO₂) — a mineral pigment with a density of roughly 4.2 g/cm³, about four times heavier than water and far heavier than the organic pigments in your CMYK channels.
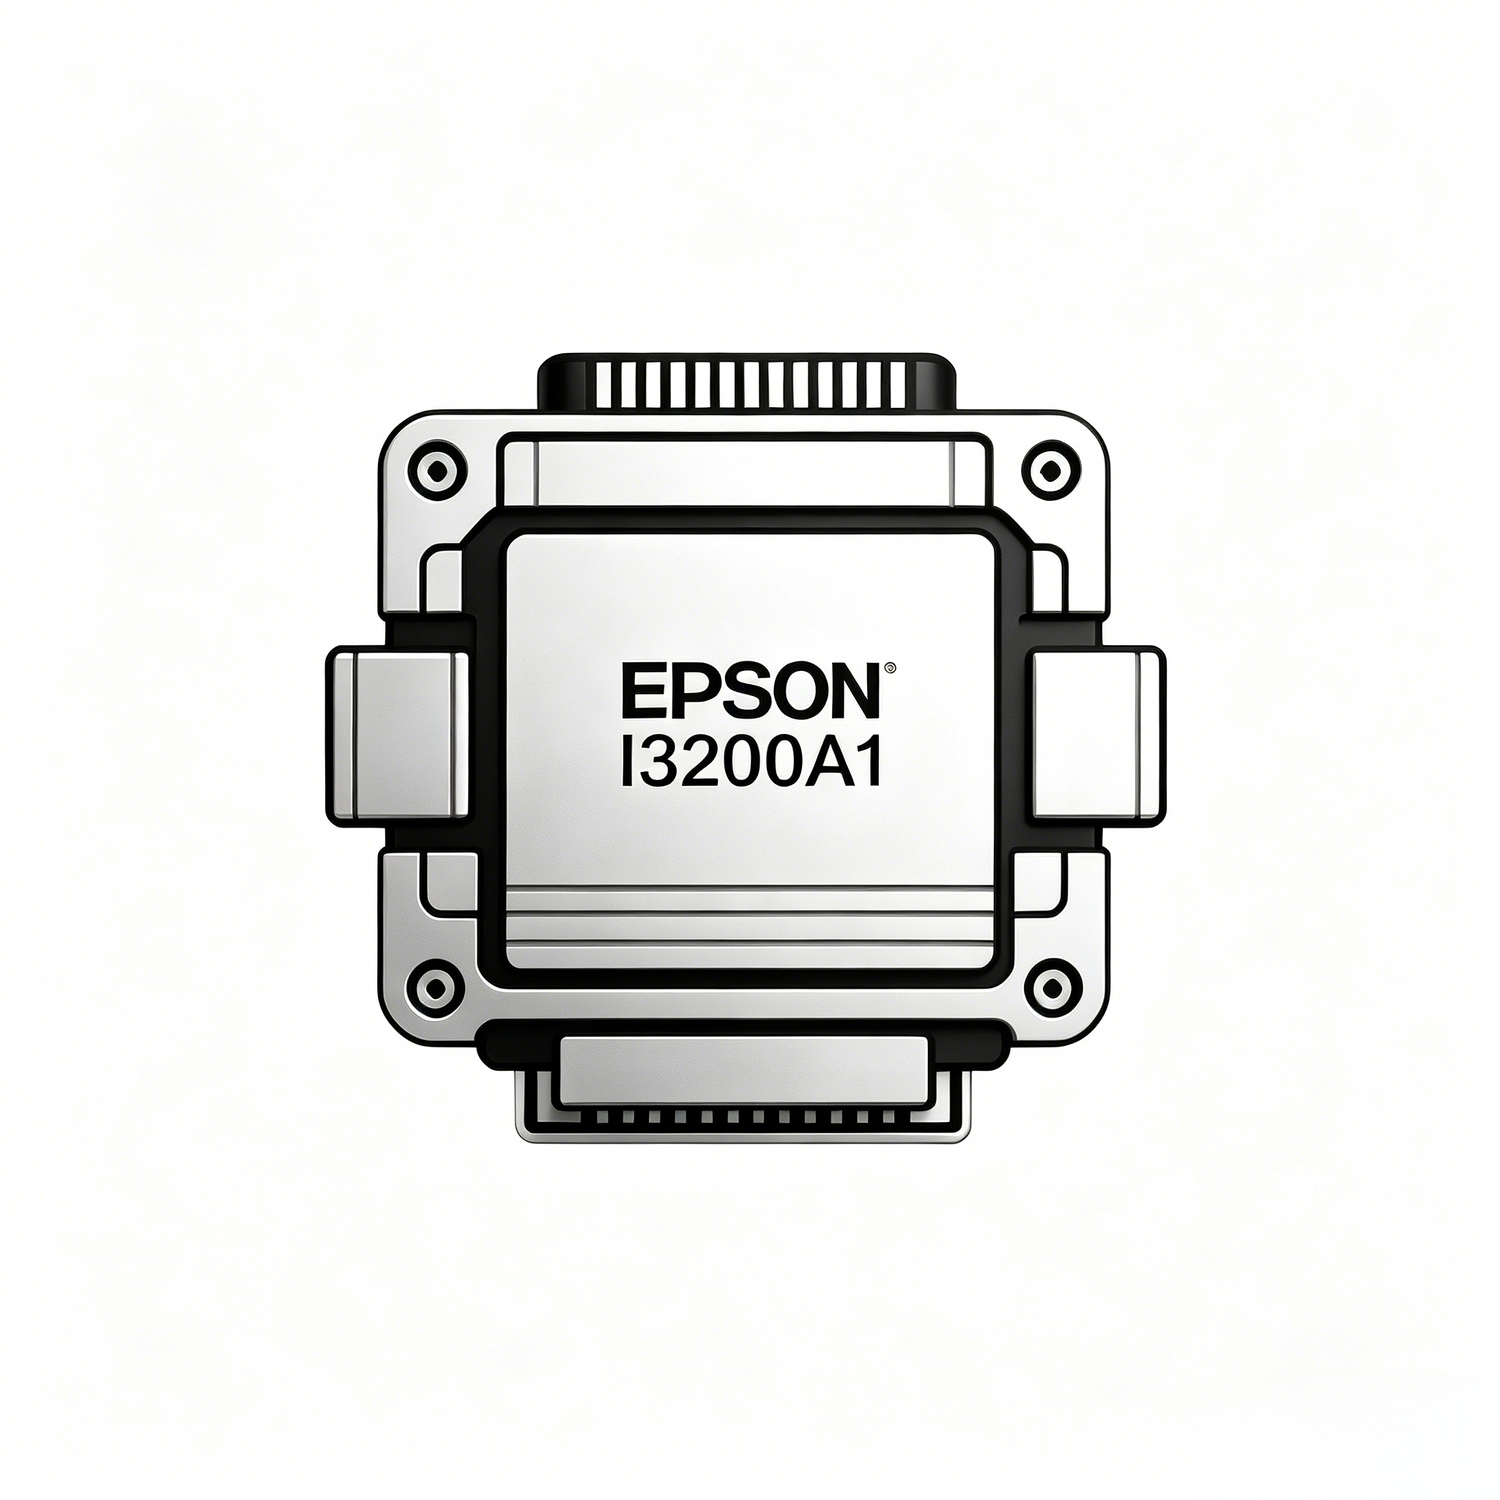
Gravity never stops working on those particles. Leave white ink undisturbed for 48–72 hours and the TiO₂ begins settling to the bottom of the cartridge, the damper, and — worst of all — the microscopic nozzle channels of your printhead. An Epson i3200-class printhead fires droplets through nozzles roughly 20 microns wide. It only takes a small cluster of settled pigment to block one.
That's why white fails first, fails most often, and why "my color is perfect but white won't print" is the single most common support call we take at SHL LA Supply. The good news: because the root cause is physical settling rather than chemical damage, most white ink failures are reversible if you act early and follow the right sequence.
First, Diagnose: Is It a Clog, Settling, or a Dead Printhead?
Don't run blind cleaning cycles — every cleaning burns ink and wear on the capping station. Diagnose first. The entire diagnosis takes two minutes.
The Nozzle Check Test — How to Read the Pattern
Print a nozzle check from your RIP software or the printer's control panel. Look only at the white channel blocks and compare against these three patterns:
- Pattern A — a few missing or deflected lines (under 10%): light clog or early settling. Recoverable in about 5 minutes with Steps 1–2 below.
- Pattern B — large gaps or an entire white channel missing: heavy clog in the nozzle plate or damper. Plan on 30–60 minutes, Steps 1–5.
- Pattern C — no improvement after two full cleaning rounds and an overnight soak, or lines that move position randomly on every check: likely electrical or physical printhead damage. Go to Step 7 — stop burning ink.
(Insert three nozzle-check photos here: light clog / heavy clog / dead channels. Shoot them on your own printers — original images are an SEO ranking asset.)
| Symptom on nozzle check | Most likely cause | Severity | Estimated fix time |
|---|---|---|---|
| A few white lines missing or bent | Early TiO₂ settling / light nozzle clog | Low | ~5 minutes (Steps 1–2) |
| Banding in white areas of actual prints | Partial clog + possible ink starvation in damper | Medium | 15–30 minutes (Steps 1–4) |
| Entire white channel missing | Heavy clog in nozzle plate, damper, or ink line | High | 30–60 min + possible overnight soak (Steps 1–6) |
| White prints gray / translucent but pattern looks full | Ink separation — pigment settled in cartridge, you're printing the clear carrier fluid | Medium | 10 minutes (Step 1, then purge) |
| No change after 2 cleaning rounds + overnight soak | Failed printhead (electrical or dried-solid) | Hardware | Replace head (Step 7) |
The 7-Step Fix for a Clogged White Ink Printhead
Work these steps in order and re-run a nozzle check after each one. Stop as soon as the pattern is clean — every additional cleaning cycle is wasted ink.
Step 1 — Re-suspend the ink (2 minutes)
Remove the white cartridges or ink bags and rock them gently end-over-end for 60 seconds. Do not shake violently — foam creates air bubbles that cause their own misfires. If your printer has a white ink circulation system, confirm it's actually running (listen for the pump; check the menu setting). If ink has sat for more than a week, also stir the sub-tank if your model allows access. Re-run the nozzle check. If white was printing gray or translucent, this step alone often fixes it.
Step 2 — Soft cleaning cycle (3 minutes)
Run one soft/light cleaning cycle from the maintenance menu, wait 2–3 minutes for pressure to stabilize, then print a nozzle check. If the pattern improves at all, run one more soft clean. Never stack more than two soft cleans back to back — if two don't do it, escalate. Each soft clean consumes only 2–4 ml of ink versus 15–25 ml for a power clean.
Step 3 — Medium / power cleaning (5 minutes)
Run one medium cleaning cycle on the white channels only, if your printer allows channel-selective cleaning. Wait 5 full minutes afterward — heavy cleans pull air into the lines and the pattern often looks worse immediately, then stabilizes. Re-check. Maximum two power cleans per session; beyond that you're flooding the capping station, not fixing the head.
Step 4 — Manually clean the capping station and wiper blade (10 minutes)
This is the step most operators skip, and it's where most "mystery clogs" live. A dirty capping station can't pull proper vacuum, so cleaning cycles accomplish nothing.
- Power off and move the carriage off the capping station.
- Drip 5–10 drops of DTF cleaning solution onto the capping station foam and let it sit 3 minutes.
- Wipe the rubber seal rim and the wiper blade with a lint-free swab soaked in cleaning solution. Keep going until the swab comes away white-free.
- Inspect the cap seal: if the rubber is deformed or cracked, vacuum is lost — replace the capping station (a $20–40 part that saves a $400+ head).
Step 5 — Overnight printhead soak (8–12 hours)
For a stubborn full-channel clog: park the carriage over the capping station, fill the cap with DTF cleaning solution until the nozzle plate is in full contact with the liquid, and let it soak 8–12 hours (overnight). The solution slowly re-dissolves dried resin and loosens compacted TiO₂. In the morning, run one soft clean, wait 3 minutes, then nozzle check. Use only cleaning solution formulated for water-based textile pigment ink — never alcohol (see FAQ below).
Step 6 — Purge air and check the dampers (15 minutes)
If the pattern is improving but unstable — lines appear, disappear, reappear — you have air in the lines or a failing damper. Check each white damper: it should be at least one-third full of ink with no large air pocket. A damper showing mostly air, or visible sediment banding, should be replaced (dampers are consumables; replace white-channel dampers every 3–6 months under daily production). Use a syringe at the damper inlet to gently draw ink through until it flows bubble-free.
Step 7 — Know when to stop: replace the head (decision point)
Cut your losses when all three are true: (1) you've completed Steps 1–6 including an overnight soak, (2) the same nozzles are still dead across three consecutive checks, and (3) missing nozzles exceed roughly 10% of the white channel or sit in a fixed block. At that point, continued cleaning costs more in ink and downtime than the head itself. One more diagnostic: if dead nozzles change position randomly between checks, suspect the head cable or board before condemning the head — reseat the ribbon cables first.
⚙ Printheads, dampers & capping stations — in stock in Los Angeles
We stock i3200-class printheads, white-ink dampers, capping stations, and wiper blades at our Santa Fe Springs warehouse. Order by 2 PM PT and most US shops have parts in hand within 48 hours — no 3-week overseas wait while your production line sits idle.
Was It Your Ink? How Cheap White Ink Destroys Printheads
If the same white channels keep clogging every few weeks despite good maintenance, the problem usually isn't your printer — it's what you're feeding it. Budget white inks cut cost in two ways that directly attack your printhead:
- Coarse, poorly milled TiO₂. Premium white ink mills pigment to a tightly controlled sub-micron particle size and coats each particle with dispersant so it stays suspended. Cheap ink uses wider particle distribution — the big particles settle in days instead of weeks and wedge into 20-micron nozzles.
- Weak dispersant packages. The dispersant is what fights gravity. When it's underdosed, ink separates fast, hard sediment forms at the bottom of the cartridge, and every print run pulls that sludge toward your head.
Run this simple test: stand a sample of your current white ink in a clear container for 72 hours. A quality ink shows slight, soft settling that re-mixes with a few gentle inversions. A problem ink shows a dense white layer at the bottom with near-clear fluid on top — and that hard layer is exactly what's forming inside your dampers.
🧪 SHL Pro-Series DTF White Ink
Sub-micron milled TiO₂ with a high-load dispersant package for slow, soft settling — formulated for i3200/XP600 heads and matched to our films and TPU powder so the whole chemistry works together. Ships same-day from Los Angeles.
Prevention: The 5-Minute Daily Routine That Prevents 90% of White Clogs
Every fix in this article is downstream of one truth: white ink clogs are prevented daily, not repaired weekly. The core habits — shake white cartridges 60 seconds every morning, print one nozzle check before production, wipe the capping station at shutdown, keep the room at 40–60% RH, and never power the printer off at the wall (auto-maintenance needs standby power) — take about five minutes total.
We've published the complete routine, including weekly and monthly tasks, in our companion guide: The 5-Minute Daily DTF Printer Maintenance Checklist.
FAQ: DTF White Ink Problems
How often should I shake DTF white ink?
Cartridges in the printer: gently rock for 30–60 seconds every day before production. Sealed bottles in storage: invert weekly, and always shake for a full 1–2 minutes before installing. If your printer has white ink circulation, daily shaking can drop to a quick 15–30 second check, but don't skip it entirely.
Can I turn my DTF printer off overnight?
Put it in standby, but never cut wall power. Modern DTF printers run automatic micro-maintenance and (on equipped models) white ink circulation while in standby. Killing wall power disables both — and a weekend without circulation is the #1 cause of Monday-morning white channel failures.
Can I use alcohol instead of DTF cleaning solution?
No. Isopropyl alcohol flash-dries water-based pigment ink on contact, which can turn a soft clog into a cemented one, and it attacks the adhesives and coatings inside the printhead. Use only cleaning solution formulated for water-based DTF/textile pigment inks. A liter costs less than 5% of a replacement printhead.
How long does a DTF printhead last?
Under daily production with proper maintenance and quality ink, an i3200-class head typically delivers 6–18 months. The spread is almost entirely explained by two variables: ink quality (pigment milling and dispersant) and whether the daily maintenance routine actually happens. Heads rarely die of old age — they die of neglect.
Does dry California weather affect white ink?
Yes, significantly. During Santa Ana wind events, indoor humidity can fall below 20% RH — ink dries faster on the nozzle plate and static increases. Keep your print room at 40–60% RH with a humidifier, and consider stepping up nozzle checks to twice daily during dry spells. Our LA-based team deals with this locally every fall and winter.
Still Stuck? Get a Free Diagnosis From Our LA Tech Team
If you've worked through all seven steps and white still won't print, don't guess — and don't order parts you might not need. Call our Los Angeles technical team at 562-203-5165 (Mon–Fri, 9 AM–5 PM PT) for a free diagnosis. Send us your nozzle check photo and we'll tell you exactly which step, part, or setting to fix. Printheads, dampers, and capping stations ship from our Santa Fe Springs warehouse — most US shops are back in production within 48 hours.
📥 Want the printable version? Subscribe to our newsletter and get the free PDF: "White Ink Clog Troubleshooting Flowchart + Daily Maintenance Checklist" — laminate it and hang it next to your printer.

Leave a comment
This site is protected by hCaptcha and the hCaptcha Privacy Policy and Terms of Service apply.