
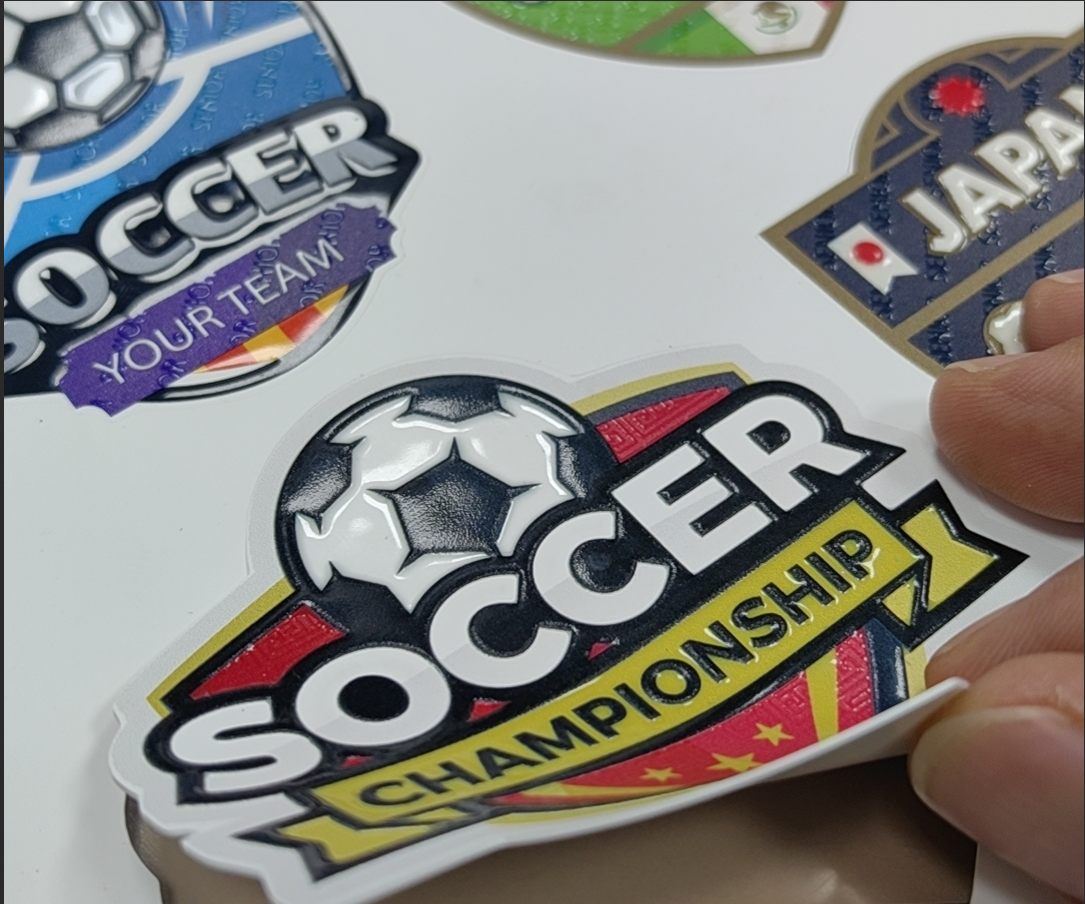
If you've noticed more brands ditching flat embroidered patches for something that actually pops off the fabric, you're not imagining it. 3D TPU patches are everywhere right now — on hats, jackets, backpacks, and tactical gear — and for good reason. They look premium, they're way faster to produce than embroidery or molded patches, and you can make them one at a time if you need to.
We put together this guide to answer the questions we get most from apparel brands, patch shops, and custom gear businesses: what are these patches, how are they made, and what do you actually need to start producing them yourself?
(Quick note: we're SHL Supply, based in Los Angeles, and we supply the film, printer, and cutter for exactly this kind of production. More on that below — but first, let's talk patches.)
So, What Exactly Is a 3D TPU Patch?
Think of it as the raised, rubbery-feeling patch you'd see on a premium streetwear jacket or a tactical backpack — except instead of being molded (which takes weeks and a mold fee), it's printed and heat pressed.
It's made from TPU film — a soft, flexible material that's a lot thicker than your standard heat transfer vinyl, usually somewhere between 0.5mm and 1.0mm. Print full-color artwork onto it with a UV printer, cut it to shape, then heat press it onto whatever you're decorating. The result is a raised, embossed logo that actually blends into the fabric instead of sitting on top like a sticker.
This is the same basic idea behind:
- Embossed 3D TPU patches on hoodies and jackets
- Heat transfer raised TPU logos for hats and polos
- 3D silicone patches for team gear and uniforms
- Personalized morale patches for tactical and outdoor brands
- Brand patches for hats, jackets, and bags — that soft, 3D rubber gear feel
- 3D vinyl patches and raised stickers for laptops, bottles, and swag
The big difference from molded PVC or silicone? No tooling. No mold fees. No waiting weeks for a sample. Everything's printed digitally, so you can run full-color, gradient, small-text designs and produce one patch or ten thousand with the same setup.
3D TPU Patches vs. Everything Else — How Do They Stack Up?
Here's how 3D TPU compares to the other patch types you've probably worked with (or thought about working with):
| 3D TPU Patch | Embroidered Patch | Molded PVC/Silicone | Flat HTV/DTF | |
|---|---|---|---|---|
| Feel | Raised, soft, rubbery | Raised, stitched | Raised, firm rubber | Flat |
| Need a mold? | No | No | Yes | No |
| Minimum order | 1 piece | Low | High (mold cost) | 1 piece |
| Color detail | Excellent | Limited by thread | Limited by mold | Excellent |
| Turnaround | Same day, in-house | Days to weeks | Weeks | Same day |
| Wash/wear durability | High | High | High | Moderate |
| Best for | Custom logos, morale patches, small runs | Classic uniform patches | High-volume branded merch | Flat graphic tees |
Basically, 3D TPU gives you the look of a molded silicone patch with the speed and low minimums of digital printing. That combo is why it's taken off so fast.
How to Make 3D TPU Patches (Step by Step)
Want to see how it actually comes together? Here's the process from blank film to finished patch.
Step 1: Get Your Artwork Ready
Full color, any level of detail — logos, morale patch icons, small text all work fine since it's digitally printed, not stitched or molded.
Step 2: Print onto TPU Film
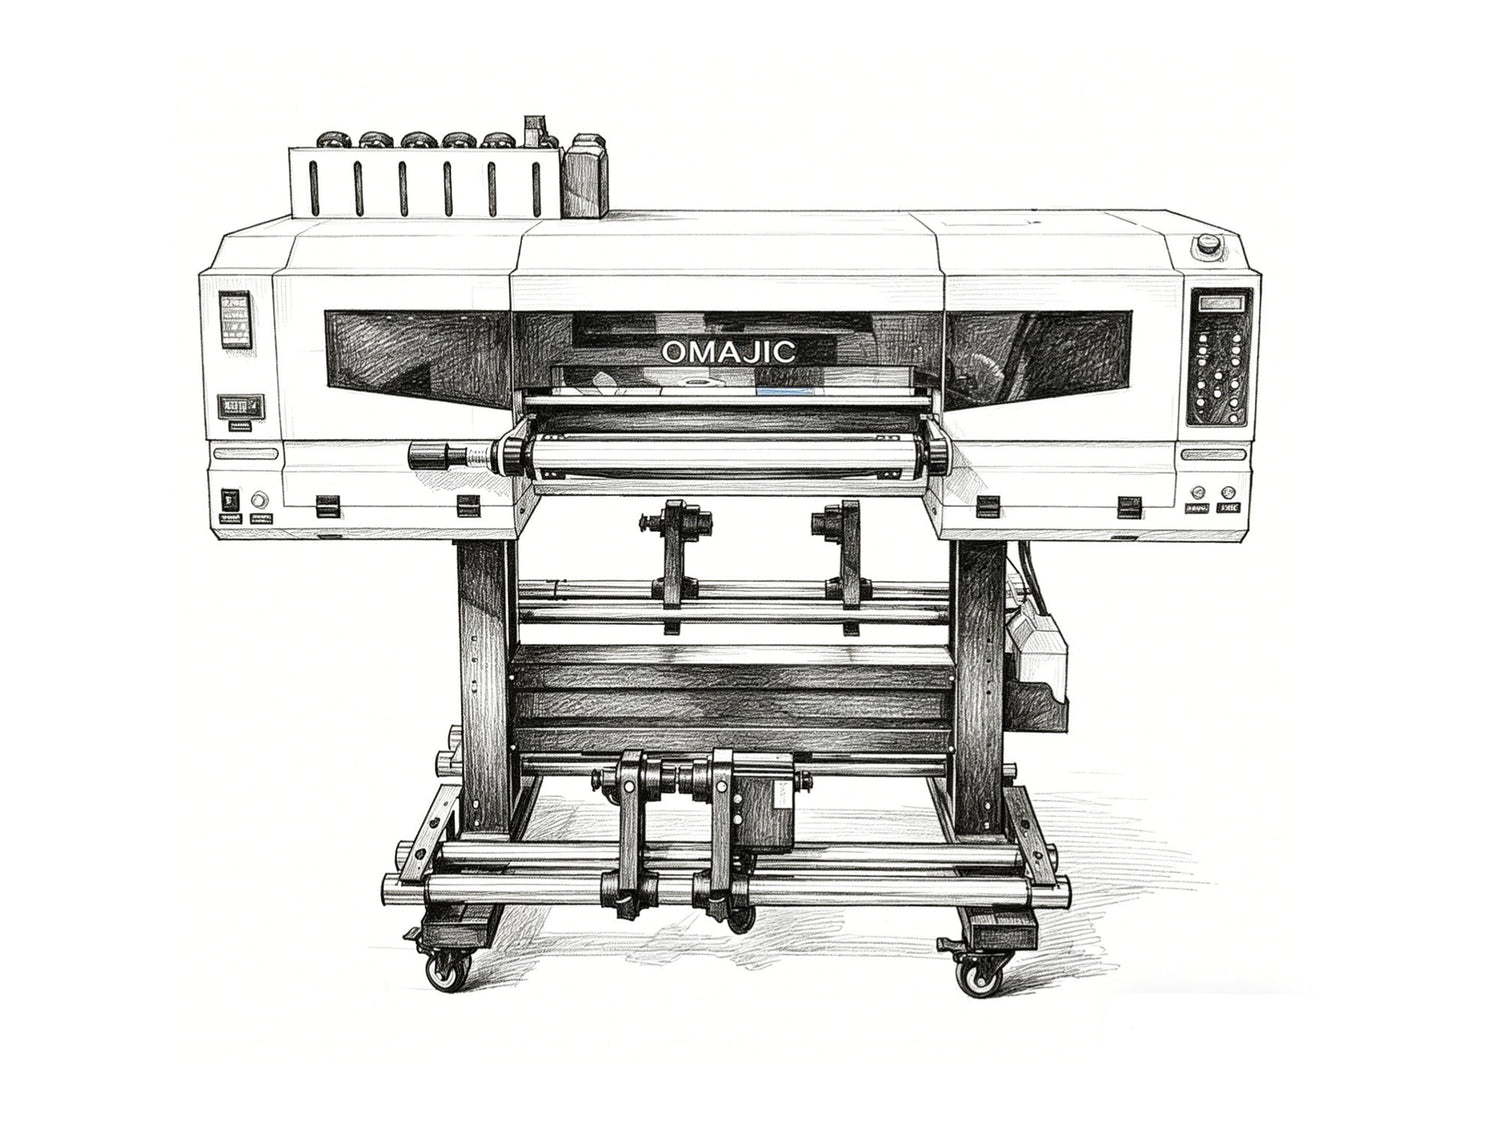
Load 3D TPU heat transfer film into a 24" UV DTF printer with foil attachment. The UV ink cures right onto the film's matte surface, and if you want a metallic or holographic finish for a raised TPU logo, the foil attachment handles that in the same pass — no extra machine needed.
Step 3: Cut Around the Design
Run it through a dual-blade cutting plotter with camera scan contour cutting. The camera automatically finds the edges of your printed design and cuts a clean outline — even around tricky logo shapes. This step is honestly what makes it look professional instead of like a DIY sticker cutout.
Step 4: Heat Press It On
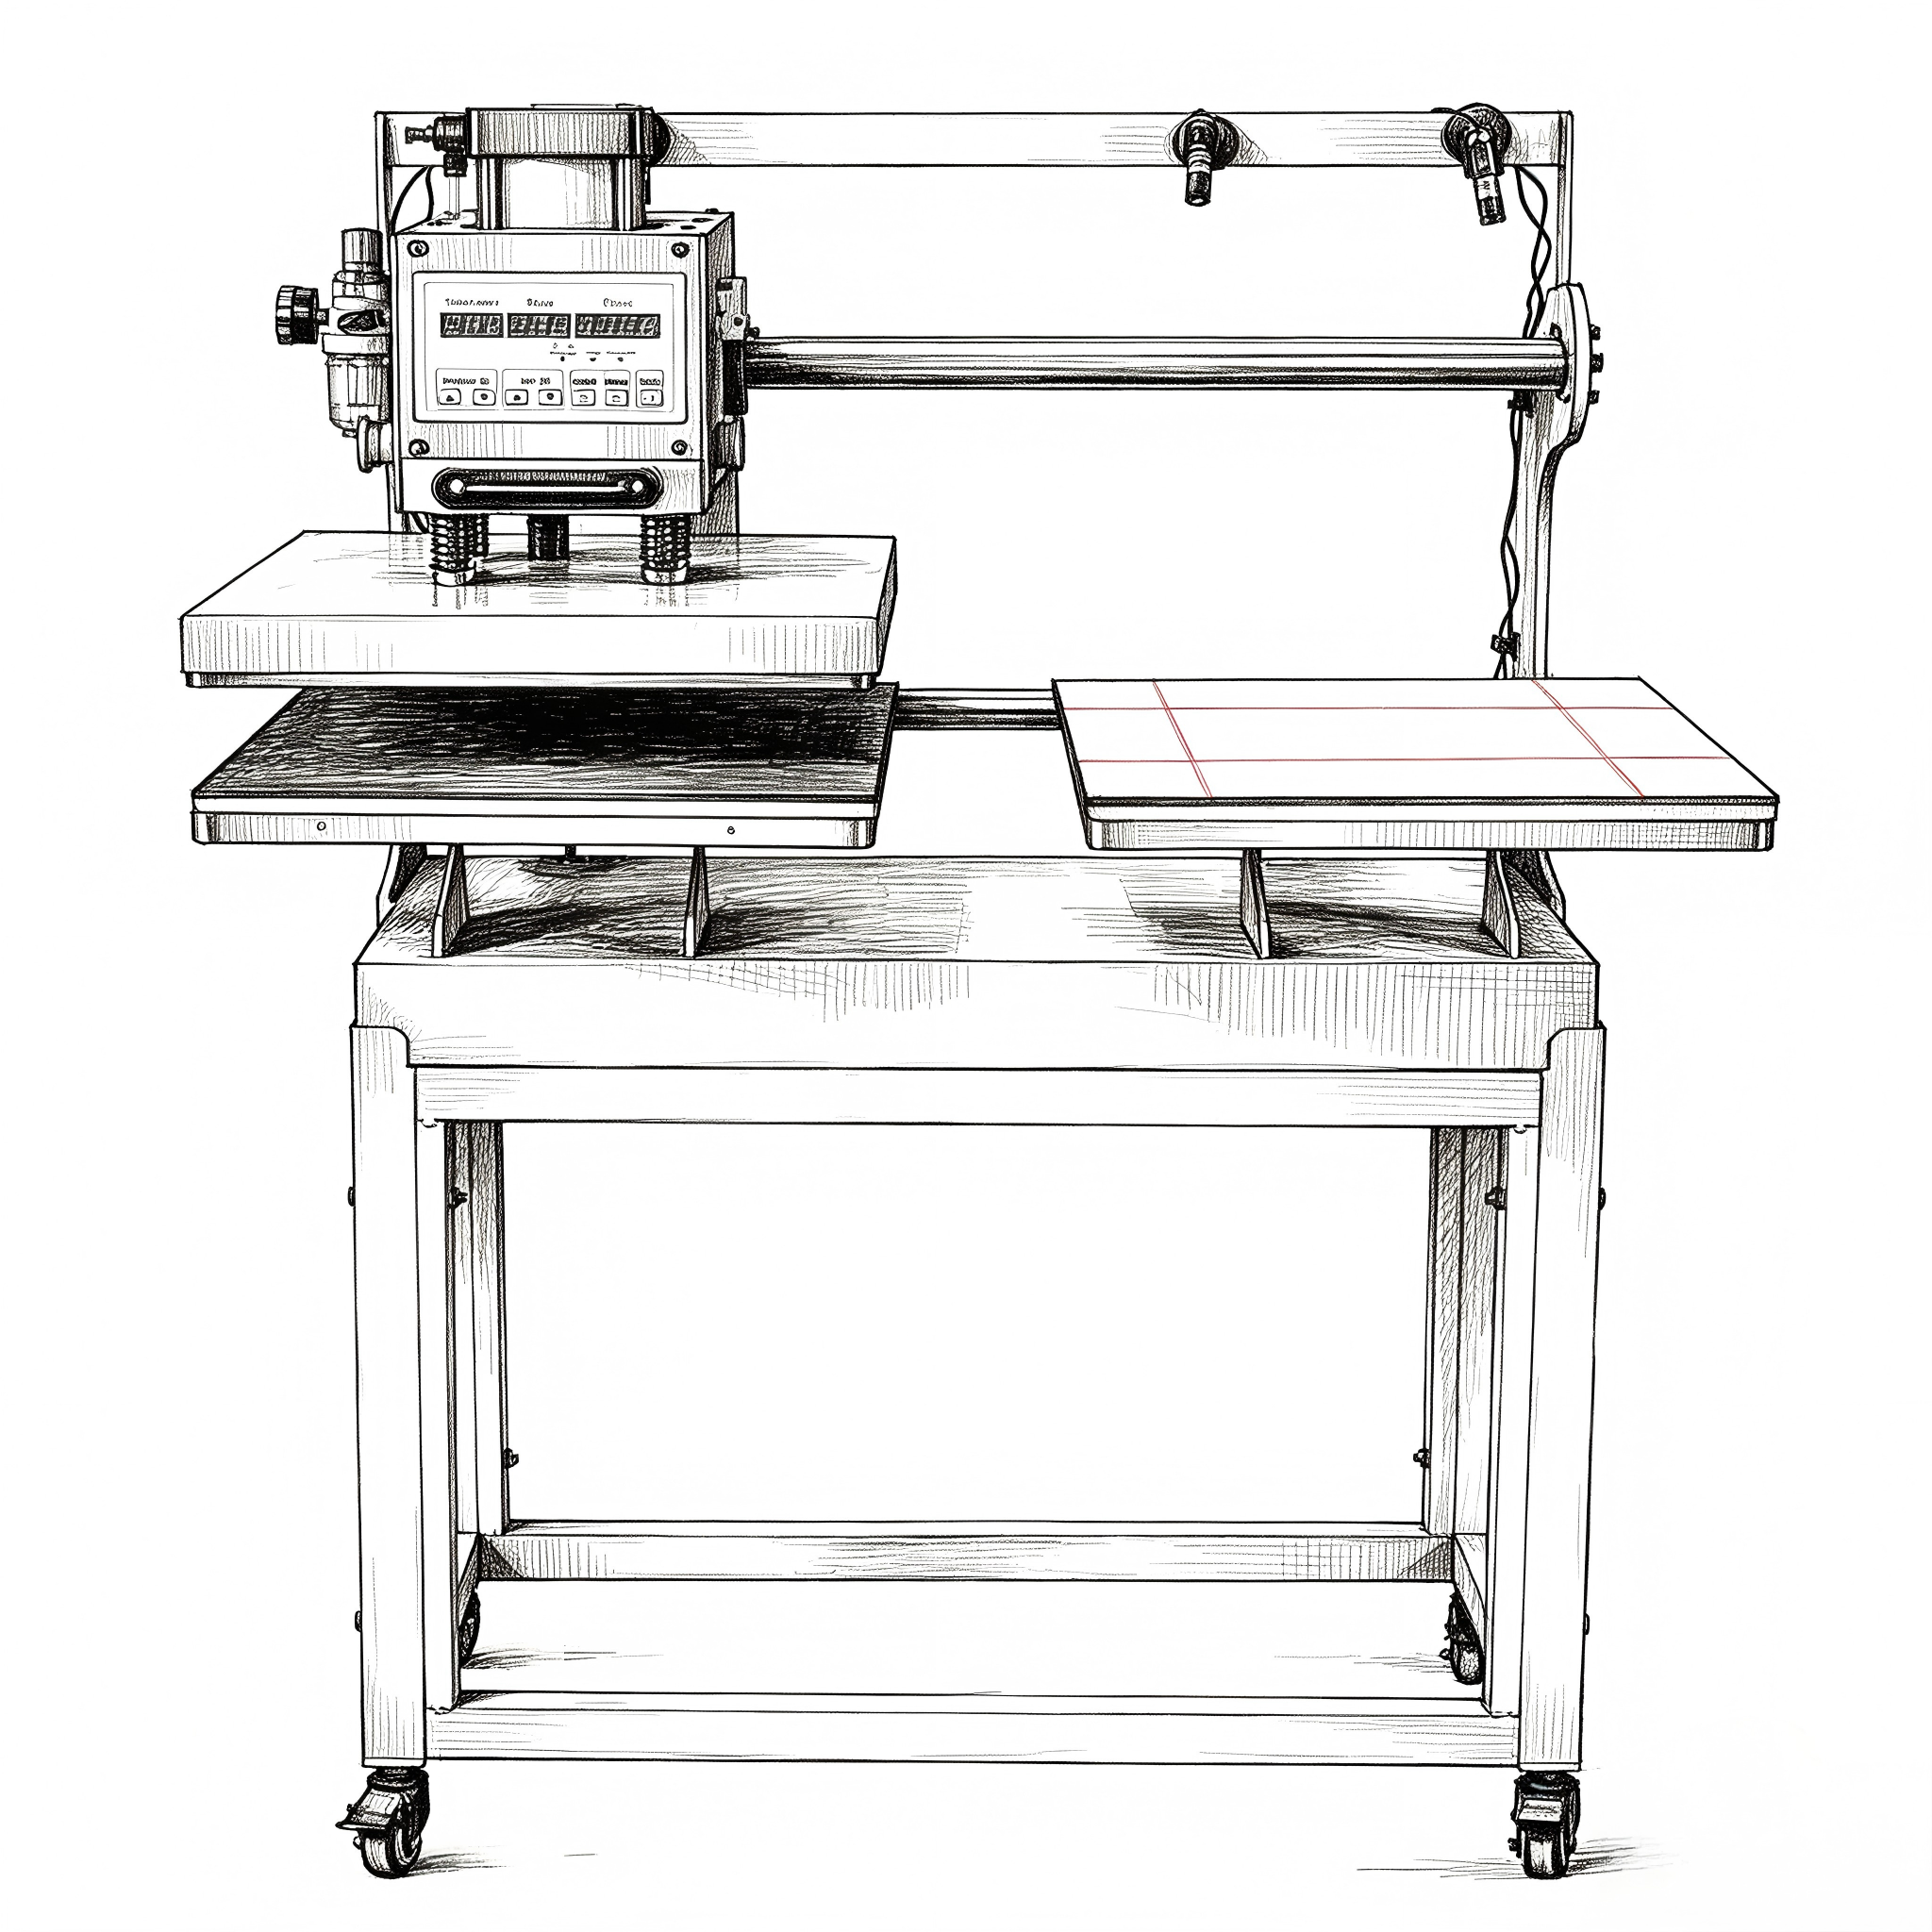
TPU is thicker than regular vinyl, so give it a bit more heat and time: 300°F–320°F (150°C–160°C) for 15–20 seconds, firm even pressure, top-down. If you're pressing onto structured hats, a dual-heated press (heat from top and bottom) helps the thicker material bond properly.
Step 5: Peel and Check Your Work
Let it cool before peeling the carrier sheet. Done right, these patches hold up through repeated washing and stretching without cracking or lifting at the edges.
Where People Are Actually Using These
- Streetwear and fashion labels — raised logo patches on jackets and hoodies
- Hat brands — 3D logos that hold their shape on structured caps
- Tactical and outdoor gear companies — custom morale patches and soft 3D rubber gear
- Bag brands — durable patches that survive daily wear
- Promo products — raised stickers for laptops, tumblers, giveaways
- Teams and clubs — silicone-style patch looks without the mold cost
Why Businesses Work With Us
Ordering big printing and cutting equipment from overseas is a gamble — long shipping windows, customs headaches, and nobody to call if something's not working right out of the box. We built our setup specifically to avoid that for US customers:
- We're in LA, so shipping is fast and there's no cross-border wait
- We help you get set up — install guidance, on-site or remote, so you're not guessing
- Full-day after-sales support when you need help troubleshooting or restocking supplies
- Rental and leasing options if you want to test this out before buying the full setup outright
Frequently Asked Questions
What's the difference between a 3D TPU patch and a 3D silicone patch? Both feel raised and rubbery, but silicone patches are molded — meaning tooling costs and higher minimums. 3D TPU is printed and pressed, so there's no mold, and you can do full-color custom designs one at a time.
Can I use TPU film for morale patches? Yep. It holds fine detail and small text really well, and it's durable enough for regular wear, which makes it a solid fit for personalized morale patches.
How thick is 3D TPU film? Usually 0.3mm to 0.5mm — noticeably thicker than standard heat transfer vinyl, which is exactly what gives it that raised, embossed look.
What heat press settings should I use? 300°F–320°F (150°C–160°C) for 15–20 seconds, firm pressure, top-down. For hats, use a dual-heated press so the material bonds all the way through.
Do I need a special printer for this? Yes — you need a UV DTF printer with a UV-LED printhead. Regular inkjet or solvent printers won't work on TPU film.
Can I rent the equipment instead of buying? Yes, we offer rental and leasing on the film, printer, and cutter, so you can test the product line before committing to a full purchase.
Is this doable for a small business or startup? Definitely. Since there's no mold or tooling involved, you can produce a single patch or a small batch just as easily as a big run — no minimum order pressure.
Ready to Start Producing Your Own 3D TPU Patches?
Whether you're adding embossed logo patches to an existing line, launching a morale patch brand, or want in-house production for hat and bag patches, we can help you figure out the right film, printer, and cutter setup for your volume.
Get in touch with SHL Supply in Los Angeles for a quote, a live equipment demo, or details on our rental terms.

Leave a comment
This site is protected by hCaptcha and the hCaptcha Privacy Policy and Terms of Service apply.