
By SHL Supply · Los Angeles, CA | DTF Troubleshooting Guide
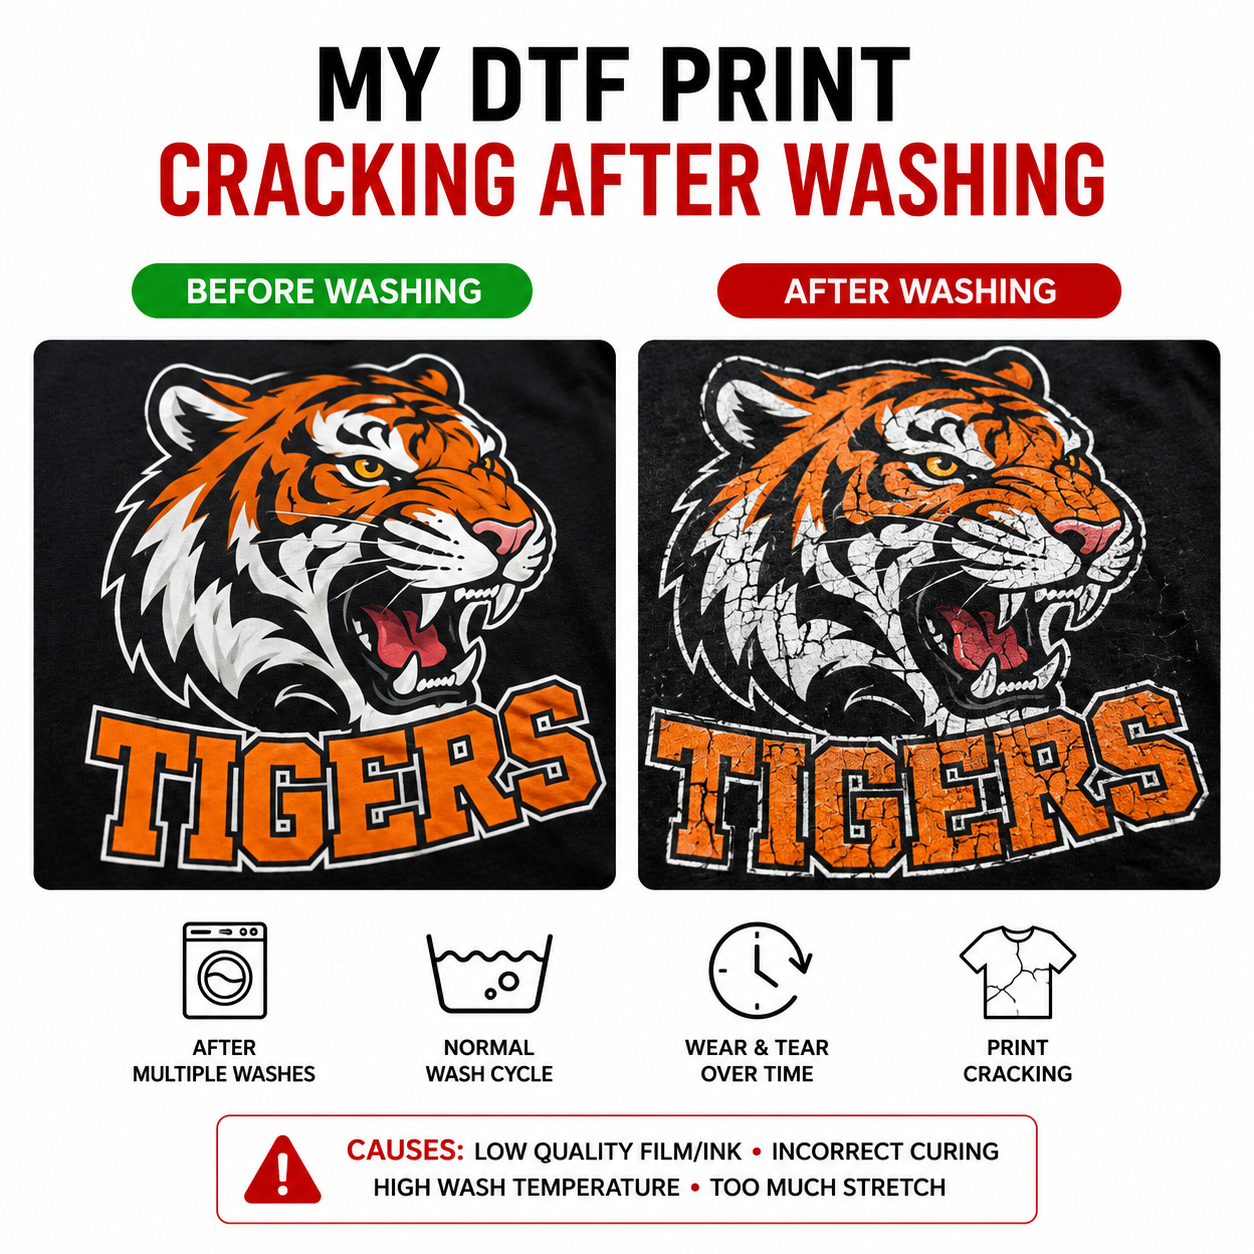
Quick Answer: DTF prints crack after washing for three main reasons — (1) wrong or low-grade TPU adhesive powder with insufficient stretch, (2) under-cured powder that was not fully melted in the shaker/dryer, or (3) incorrect heat-press settings (temperature too low, time too short, or uneven pressure). Scroll down for the full root-cause checklist, fabric-specific parameter table, and the 3-point stretch test that catches problems before products ship.
1. Why Wash-Cracking Is a Business-Ending Problem
A cracked DTF print is not just a product defect — it is a customer service crisis, a refund request, and a reputation hit, all at once. Custom apparel buyers expect their branded T-shirts, hoodies, and jerseys to survive the wash. When the print cracks after the second or third wash cycle, you lose not just the order, but the customer and every referral they would have sent.
The frustrating part is that cracking after washing is almost always 100% preventable. It is not bad luck. It is the result of one or more specific, diagnosable mistakes in the consumables or process — and every one of them has a clear fix.
- Wrong or low-grade TPU adhesive powder (insufficient stretch)
- Under-cured powder adhesive (incomplete melt in the shaker/dryer)
- Incorrect heat-press temperature, time, or pressure for the fabric type
This guide walks through each cause in detail, gives you a complete diagnosis framework, fabric-specific parameters, a pre-ship stretch test method, and introduces the consumable upgrade that eliminates cracking at the root.
2. The 6 Root Causes of DTF Print Cracking After Washing
| # | Root Cause | How to Identify It | Typical Crack Pattern |
|---|---|---|---|
| 1 | Wrong / low-grade TPU powder (poor stretch) | Cracks appear along flex lines — armpits, elbows, collar, waistband | Linear cracks along movement creases |
| 2 | Under-cured powder (shaker/dryer too cool or too short) | Powder surface looks dull or grainy after curing — not glossy | Uniform surface cracking across the whole print |
| 3 | Heat press temperature too low | Transfer feels stiff or "plastic" immediately after pressing; does not flex naturally | Cracking + peeling at edges after 1–3 washes |
| 4 | Heat press time too short | Transfer lifts easily at corners when cool; no strong adhesion to fabric fibers | Edge delamination + cracking across entire design |
| 5 | Uneven platen pressure | Some areas of the print look washed out or have poor color — inconsistent press marks | Cracking in patches rather than uniformly |
| 6 | Fabric mismatch (high-stretch fabric + rigid powder) | Print looks fine on cotton but cracks immediately on spandex or athletic fabric | Cracking only on stretch-zone areas of the garment |
3. Root Cause #1 Deep Dive: The TPU Powder Problem
The DTF adhesive powder is the single most important variable in wash durability. It is the ingredient that glues your ink to the fabric — and if it fails, nothing else in the process can save the print.
TPU vs PES: Why Powder Chemistry Matters
There are two main types of DTF hot melt adhesive powder on the market:
| Property | TPU (Thermoplastic Polyurethane) | PES (Polyester) |
|---|---|---|
| Stretch / Flexibility | ✅ Excellent — moves with the fabric | ❌ Rigid — cracks under flexion |
| Wash Durability | ✅ 50+ washes at 40°C | ⚠️ 20–30 washes (degrades faster) |
| Hand Feel | ✅ Soft, smooth, skin-friendly | ⚠️ Stiffer, sometimes rough |
| High-Stretch Fabric (Spandex, Lycra) | ✅ Compatible | ❌ Will crack immediately |
| Cotton Compatibility | ✅ Excellent | ✅ Acceptable |
| Polyester / Activewear | ✅ Excellent | ⚠️ Marginal |
| OEKO-TEX Certification Available | ✅ Yes (premium grades) | ⚠️ Rarely |
| Cost | Slightly higher | Lower |
If your prints are cracking on athletic jerseys, hoodies, or any garment that stretches during wear, there is a high probability you are using PES powder or a low-grade TPU blend that does not have sufficient elongation properties. The fix is to switch to a professional-grade, high-stretch TPU powder.
Grain Size Matters Too
DTF powder comes in different particle sizes — Fine (0–80 µm), Medium (80–170 µm), and Coarse (170–250 µm). Grain size affects both adhesion texture and melt behavior:
| Grain Size | Best For | Hand Feel | Detail Reproduction |
|---|---|---|---|
| Fine (0–80 µm) | Small text, intricate fine-line designs | Smoothest | Highest |
| Medium (80–170 µm) | General-purpose — most garments and designs | Soft | Good |
| Coarse (170–250 µm) | Large solid fills, thick fabrics (canvas, denim) | Slightly textured | Lower |
Using coarse powder on a fine-line design causes uneven melt and adhesion gaps — contributing to premature cracking. Match grain size to your design complexity and fabric weight.
4. Root Cause #2 Deep Dive: Under-Curing the Adhesive Powder
Even the best TPU powder will crack after washing if it was not fully melted during the curing stage. Under-curing is one of the most common — and most overlooked — causes of DTF print failure.
What Fully Cured Powder Looks Like
This is your most reliable diagnostic tool. After your shaker/dryer curing cycle, look at the powder surface on the film:
| Appearance After Curing | What It Means | Action |
|---|---|---|
| 🟢 Smooth, glossy, uniform gel coat — looks like a thin layer of melted plastic | Fully cured. Adhesive is ready for heat pressing. | Proceed to press |
| 🟡 Mostly smooth but slightly grainy in areas | Partially cured. Borderline — inconsistent results. | Increase temp by 5°C or time by 30 sec |
| 🔴 Grainy, powdery, dull, or the powder moves when you tap the film | Under-cured. Will crack after washing. | Run through dryer again at higher settings |
Standard Curing Parameters
| Parameter | Recommended Setting | Notes |
|---|---|---|
| Oven / Dryer Temperature | 150–160°C (300–320°F) | Measure at the film level, not the dial setting — some dryers run 10–15°C cooler than displayed |
| Curing Time | 2–3 minutes | Longer for thicker powder coverage; shorter for light, fine-grain applications |
| Visual Indicator | Smooth, glossy, uniform melt surface | Zero granularity should be visible |
| Post-Cure Film Flexibility | Film should remain flexible when bent | Brittle or stiff film after curing = too high temperature |
5. Fabric-Specific Heat-Press Parameters Table
Different fabric types require different heat-press settings. Using cotton parameters on a high-stretch polyester jersey is one of the fastest ways to guarantee wash-cracking. Use this table as your reference:
| Fabric Type | Temperature | Press Time | Pressure | Peel Method | Special Notes |
|---|---|---|---|---|---|
| 100% Cotton (T-shirts, hoodies) | 160–165°C (320–329°F) |
12–15 sec | Medium-firm | Warm or cold peel | Pre-press 3–5 sec to remove moisture |
| 100% Polyester (jerseys, activewear) | 150–155°C (302–311°F) |
10–12 sec | Medium | Warm peel | Do not exceed 160°C — risk of dye migration and fabric damage |
| Cotton/Polyester Blend (50/50) | 155–160°C (311–320°F) |
10–13 sec | Medium | Warm or cold peel | Most forgiving fabric type for DTF |
| High-Stretch Blend (spandex, Lycra, yoga wear) | 145–150°C (293–302°F) |
13–15 sec | Medium (not too firm) | Cold peel only | Must use high-stretch TPU powder; low-grade powder will always crack on these fabrics |
| Nylon | 130–140°C (266–284°F) |
10–12 sec | Light-medium | Cold peel | Nylon is heat-sensitive; use a low-temp TPU powder; test first |
| Canvas / Heavy Cotton (bags, workwear) | 165–170°C (329–338°F) |
15–18 sec | Firm | Cold peel | Heavier fabric requires longer dwell time for heat to penetrate |
6. How to Diagnose & Fix Cracking DTF Prints — Step by Step
Follow this diagnostic sequence in order. Work from the most common cause (#1) toward less common causes (#6). Stop when you identify the problem.
Identify the Crack Pattern
Before changing anything, look carefully at how and where the print is failing:
- Cracks along flex lines only (armpits, elbow creases, collar edge) → Powder stretch problem → Go to Step 2
- Uniform surface cracking across the whole design → Under-cure problem → Go to Step 3
- Edge peeling + overall cracking → Heat press settings problem → Go to Step 4
- Patchy cracking in some areas but not others → Uneven platen pressure → Go to Step 5
Upgrade Your TPU Adhesive Powder
If cracks appear along fabric flex lines, your current powder does not have enough elongation for the garment type. Action:
- Confirm you are using TPU-based powder (not PES/polyester-based)
- For high-stretch fabrics (spandex, athletic wear), use a premium high-stretch TPU powder with ≥97% TPU composition
- Match grain size to your design: Fine for intricate designs, Medium for general use
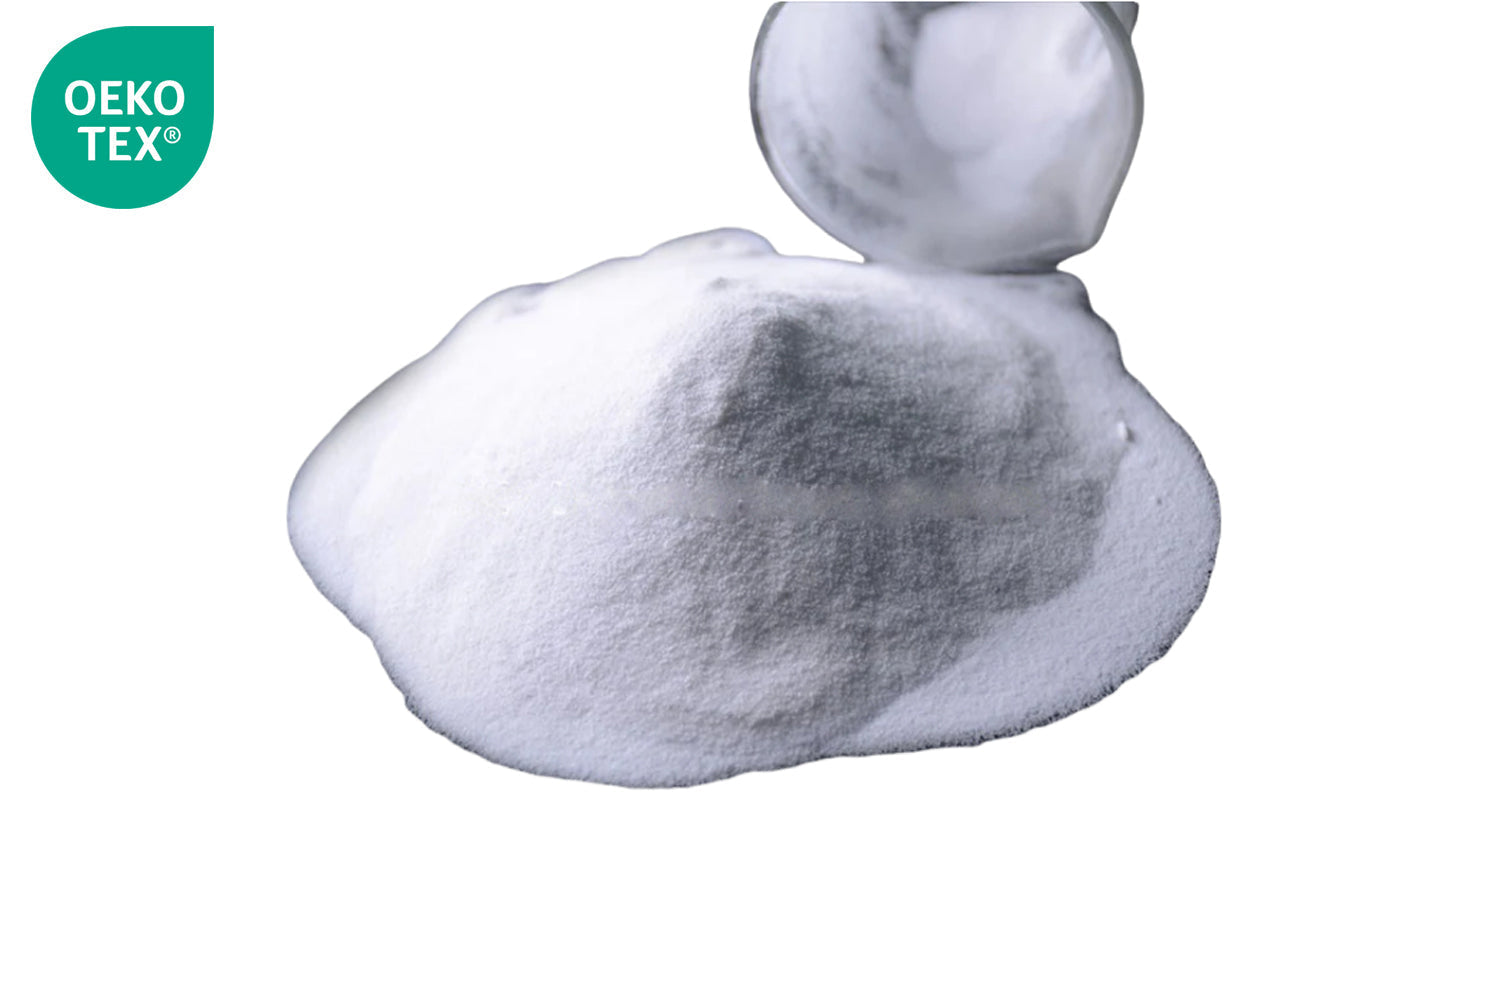
- Switch to SHL's OEKO-TEX Certified TPU DTF Powder — 97% TPU composition, 80–170 µm grain, rated 50+ washes
Fix Your Curing Settings
If the full print surface is cracking uniformly, the adhesive was not fully melted. Action:
- Set dryer/shaker oven to 150–160°C (300–320°F)
- Cure for 2–3 minutes — longer for heavy powder coverage
- Use an infrared thermometer to verify the actual film-surface temperature (not just the dial reading)
- After curing, the powder surface must appear smooth, glossy, and uniform — zero grain texture
- If still grainy, increase temp by 5°C and re-cure until the surface is fully glossy
Correct Your Heat-Press Settings
If transfers feel stiff, peel at edges, or crack after 1–3 washes, the press settings are off. Action:
- Refer to the Fabric-Specific Parameters Table above and dial in the correct temp/time for your fabric
- Pre-press the garment for 3–5 seconds before applying the transfer — this removes moisture and pre-heats the fabric fibers
- Press the transfer at the correct settings, then run the 3-point stretch test on a sample before running the full order
Check and Calibrate Platen Pressure
Uneven pressure causes patchy adhesion — some areas bond properly while others don't. Action:
- Place a sheet of pressure-sensitive paper (or a plain piece of copy paper) on the platen and press it — check for even color/impression across the full surface
- Adjust the pressure knob until the platen contacts the garment evenly across all four corners
- For pneumatic presses, confirm the air pressure is set to the recommended PSI for your machine model
Verify Your DTF Film and Ink Quality
If all process parameters are correct but prints still crack, the film or ink may be at fault:
- Low-quality PET film can have inconsistent ink-receptive coating, causing uneven adhesion that leads to cracking after washing
- Switch to SHL's 85µm Double Matt Premium DTF Film — consistent coating across the full roll width
- Ensure your DTF inks are within their shelf-life window and stored correctly (sealed, room temperature, shaken before use)
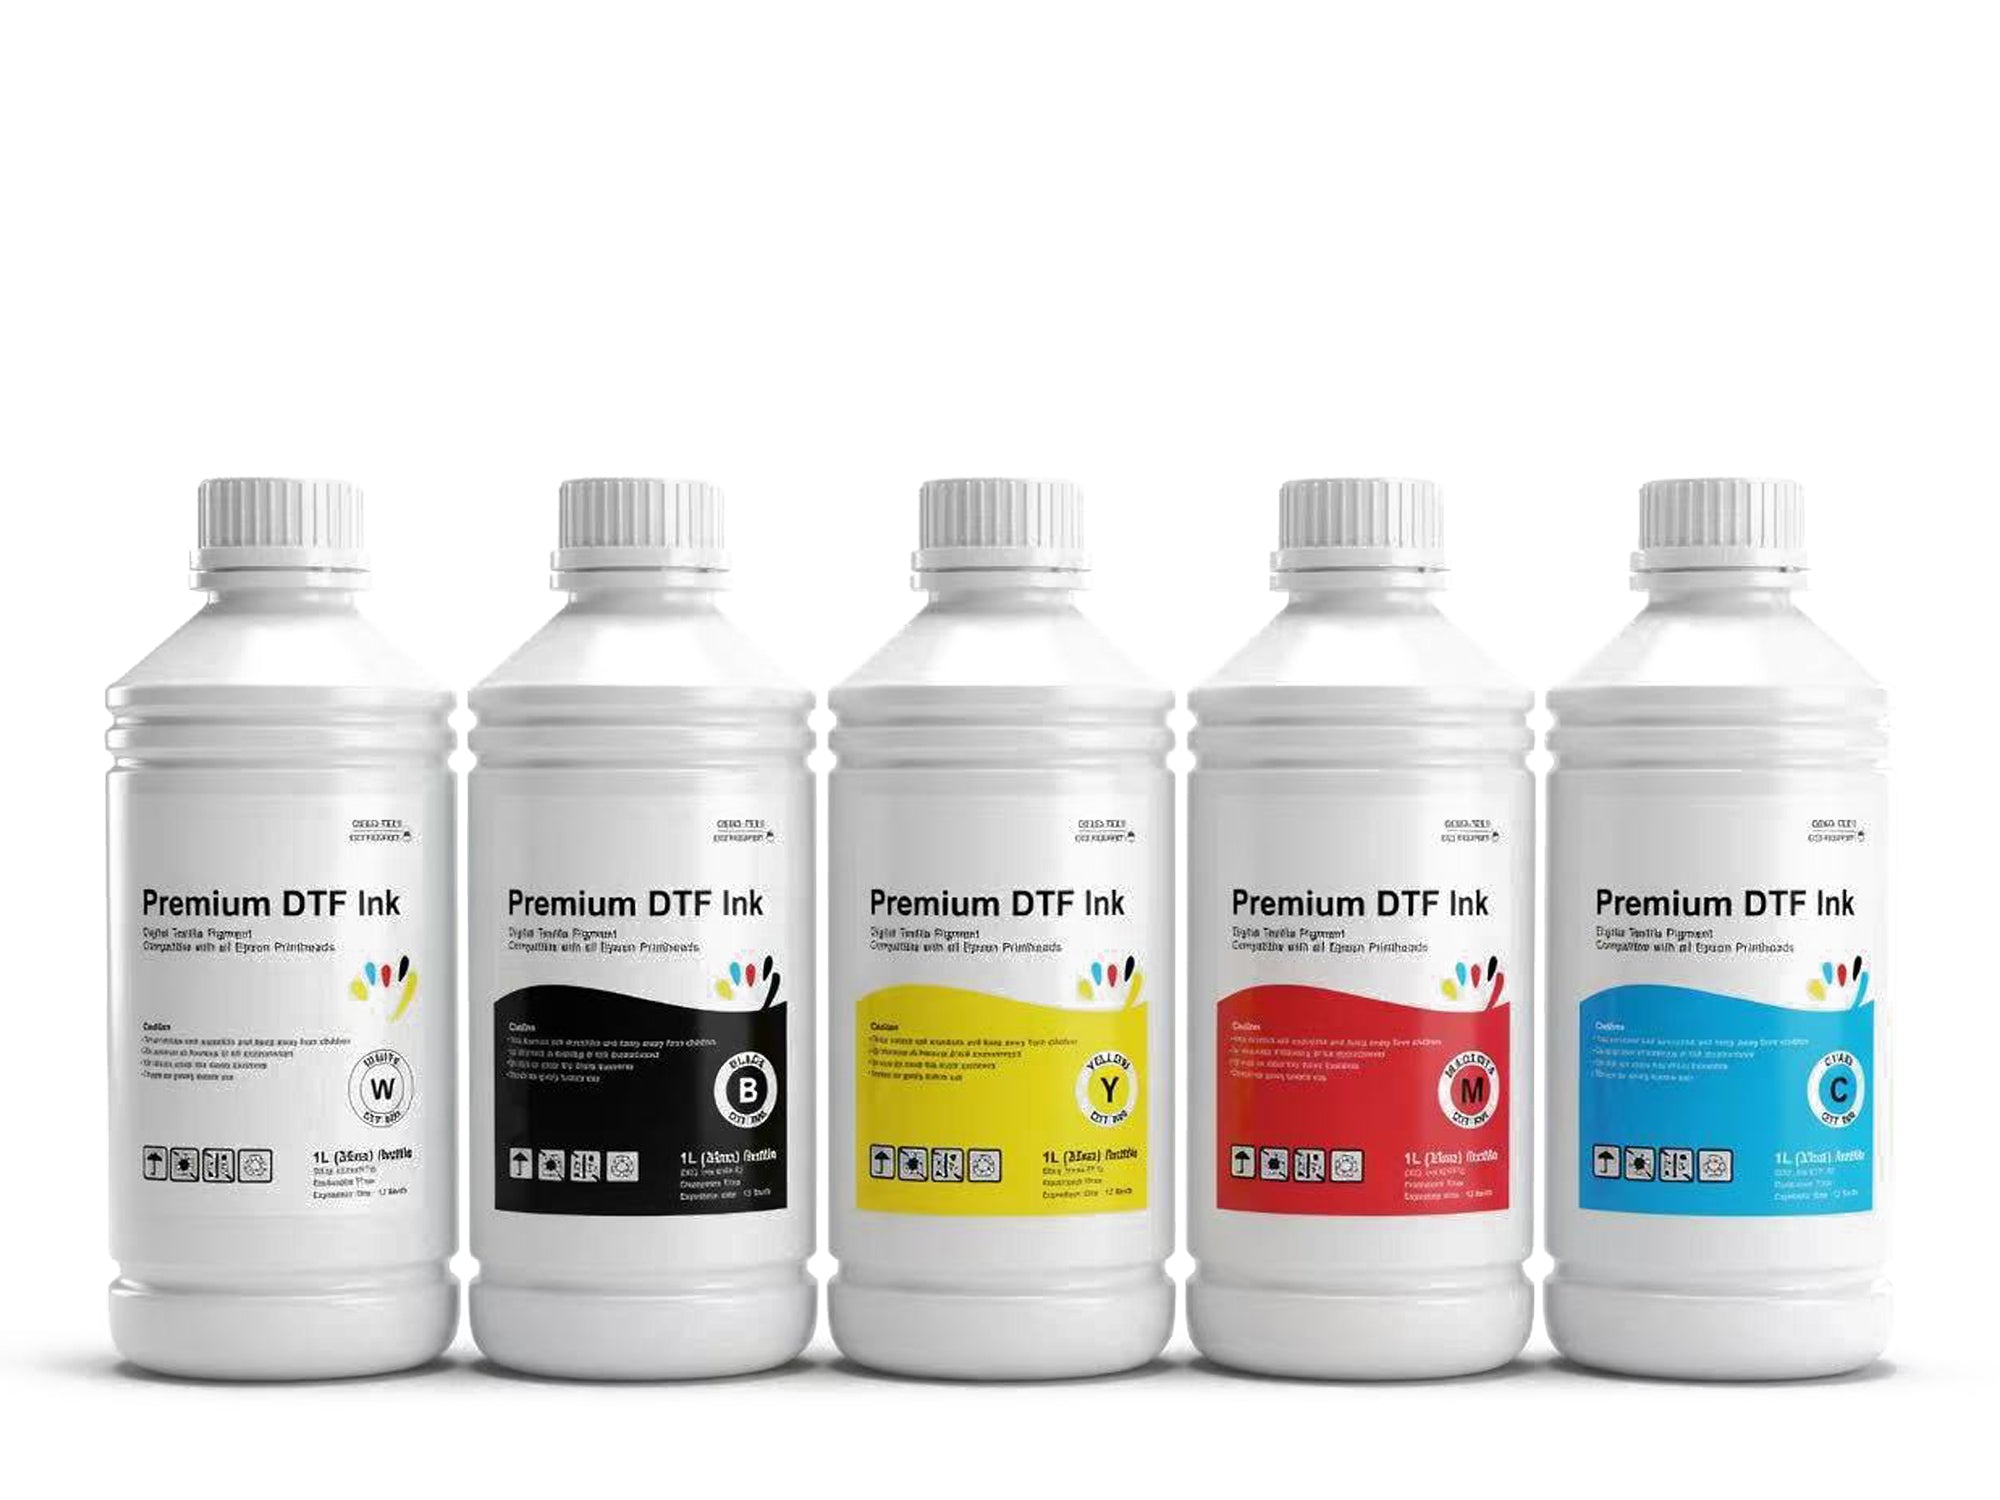
- Consider upgrading to SHL Premium DTF Ink if ink adhesion to the film surface is inconsistent
7. The 3-Point Stretch Test: Catch Failures Before They Ship
This is the single most valuable quality-control step you can add to your DTF workflow. It takes 30 seconds per garment and will save you from shipping cracked prints.
Run this test immediately after pressing, while the garment is still warm:
| # | Test | How to Do It | Pass Result | Fail Result |
|---|---|---|---|---|
| 1 | Horizontal Stretch | Hold the garment with both hands on either side of the print. Stretch the fabric firmly horizontally to about 130% of its resting width. Hold for 3 seconds. | Print stretches smoothly with the fabric — no visible cracking or whitening | Micro-cracks appear, print whitens, or you hear a slight cracking sound |
| 2 | Vertical Stretch | Repeat the same stretch test in the vertical direction — pull above and below the print. | Same smooth stretch, no cracking | Any cracking or whitening = fix before pressing more |
| 3 | Fold Test | Fold the garment in half with the print on the outside. Press the fold firmly with your palm for 3 seconds. Unfold and inspect the fold crease across the print. | No cracking, no whitening, no delamination along the fold line | Any cracking along the fold line = the print will fail in a real-world washing scenario |
8. Powder Quality Comparison: Budget vs Mid-Grade vs Professional TPU
| Feature | Budget / Generic Powder | Mid-Grade TPU | Professional TPU OEKO-TEX |
|---|---|---|---|
| TPU Composition | Unknown / PES blend | ~80–90% TPU | 97% TPU + 3% additive |
| Grain Uniformity | Inconsistent — clumping common | Moderate consistency | Uniform 80–170 µm, anti-clump formula |
| Stretch / Flexibility | Poor — cracks on any stretch | Moderate | Excellent — engineered for high-stretch fabrics |
| Wash Durability | 10–20 washes before cracking | 30–40 washes | 50+ washes at 40°C |
| Hand Feel | Stiff / plasticky | Soft | Very soft, smooth, skin-friendly |
| Dye Migration Resistance | Poor (white bleeds on dark poly) | Moderate | Good (black version available for dark fabrics) |
| Safety Certification | None / unknown | Varies | OEKO-TEX Standard 100 |
| Compatible Fabrics | Cotton only (reliably) | Cotton, polyester | Cotton, polyester, spandex, nylon, Lycra, leather, canvas |
| Melt Temperature | Often inconsistent | ~110–130°C | Initial melt 105°C · Full flow 120°C |
| Clumping in Humid Conditions | High risk | Moderate | Anti-clumping formula — low risk |
9. The Fix: SHL Supply OEKO-TEX Certified TPU DTF Adhesive Powder
If wash-cracking is a recurring problem in your print shop, the most impactful single change you can make is upgrading to a professional-grade TPU adhesive powder. SHL Supply's DTF powder is the consumable choice of print shops across the US who have eliminated wash-cracking complaints from their workflows.
SHL Premium TPU DTF Powder — Full Specifications
| Property | Specification |
|---|---|
| Product Name | Thermoplastic Polyurethane (TPU) Hot Melt Adhesive Powder |
| Composition | 97% TPU + 3% performance additive |
| Grain / Particle Size | 80–170 µm (medium grade — general purpose) |
| Initial Melt Temperature | 105°C (221°F) |
| Full Flow / Melt Temperature | 120°C (248°F) |
| Wash Durability | 50+ home wash cycles (40°C / 104°F) |
| Stretch Compatibility | High-stretch fabrics: spandex, Lycra, athletic wear, nylon |
| Hand Feel | Soft, smooth, skin-friendly — no stiffness |
| Safety Certification | OEKO-TEX Standard 100 certified — safe for direct skin contact |
| Hazard Classification | None — non-toxic formula |
| Printer Compatibility | All DTF printers and powder shakers |
| Film Compatibility | Both hot-peel and cold-peel PET DTF films |
| Available Colors | White (standard) · Black (for dark/dye-migration fabrics) |
Why Black TPU Powder?
Black TPU powder serves a specific and important function: it acts as a carbon barrier on dark or dye-migration polyester fabrics. Without it, the garment's dye can bleed upward through the white ink layer, turning your colors muddy or incorrect. If you are printing on dark polyester jerseys, black TPU powder is not optional — it is essential.
- 🔵 SHL OEKO-TEX TPU DTF Powder (White / Black) → — 97% TPU · 50+ washes · Anti-clump · All fabrics
- 🎞️ SHL 85µm Double Matt Premium DTF Film → — Consistent coating · Hot and cold peel
- 🖨️ SHL Premium DTF Ink → — Vibrant, durable, ink-head compatible
For businesses ready to scale production, the SHL DTF Print Shop Starter Bundle includes all consumables, a 24-inch printer, and a dual-platen heat press — everything pre-matched for compatibility.
10. Frequently Asked Questions
Why is my DTF print cracking after washing?
The three most common causes are: (1) wrong or low-grade TPU adhesive powder with insufficient stretch; (2) under-cured powder — the shaker/dryer temperature or time was too low, leaving adhesive partially melted; (3) incorrect heat-press settings for the fabric type. Use the 6-step diagnostic in Section 6 to identify which cause applies to your situation.
What is the correct curing temperature and time for DTF powder?
Set your shaker/dryer oven to 150–160°C (300–320°F) and cure for 2–3 minutes. After curing, the powder surface must appear smooth, glossy, and uniform — like a thin gel coat. Any remaining granularity means under-cure. Use an infrared thermometer to verify the actual film-surface temperature, as many budget dryers run 10–20°C cooler than their display reads.
What DTF powder should I use for high-stretch polyester or spandex?
Use a professional-grade TPU (thermoplastic polyurethane) hot melt adhesive powder with high elongation properties — at least 97% TPU composition. Low-grade powders and PES-based powders have poor stretch characteristics and will crack on any fabric that moves during wear. SHL's OEKO-TEX certified TPU powder is rated for high-stretch fabrics including spandex, Lycra, nylon, and activewear.
What heat-press settings prevent DTF prints from cracking?
Settings vary by fabric: 100% cotton: 160–165°C, 12–15 sec, medium-firm. Polyester / jerseys: 150–155°C, 10–12 sec, medium. High-stretch blends: 145–150°C, 13–15 sec, medium. Always pre-press the garment 3–5 seconds to remove moisture before applying the transfer. See the full parameters table in Section 5.
How do I test if my DTF transfer will crack after washing?
Use the 3-point stretch test (Section 7) immediately after pressing: stretch horizontally, stretch vertically, and fold the garment print-side out. A correctly produced DTF transfer passes all three with no micro-cracks, whitening, or delamination. If it fails any test before washing, it will crack after washing.
Does the DTF film quality affect wash-cracking?
Yes. Low-quality PET DTF film can have inconsistent ink-receptive coating, causing uneven ink absorption and adhesion gaps that lead to cracking after washing. SHL's 85µm Double Matt Premium DTF Film provides consistent coating across the full roll width for uniform adhesion results.
How many washes should a good DTF print last?
A professionally produced DTF print using quality TPU powder, correct curing, and correct press settings should withstand 50+ home wash cycles at 40°C (104°F) without cracking, peeling, or significant color loss. SHL's OEKO-TEX certified TPU powder is rated to this standard. Recommend customers wash garments inside-out and avoid high-heat tumble drying to maximize print life.
Can I repair DTF prints that are already cracking?
No — once a DTF transfer has cracked due to a failed adhesive bond, it cannot be reliably repaired. You will need to reprint and reapply. Before reprinting, diagnose the root cause using the checklist in Section 6 so the replacement transfer does not have the same problem.
10. Upgrade Your DTF Consumables — Stop the Cracking for Good
Wash-cracking is preventable. The right TPU powder, correct curing settings, and fabric-matched heat-press parameters will eliminate it from your workflow. SHL Supply stocks everything you need locally in Los Angeles — with same-day and next-day shipping, no overseas delays.
Shop the complete wash-proof DTF consumable stack:
- 🔵 OEKO-TEX Certified TPU DTF Adhesive Powder →
97% TPU · 80–170 µm · Initial melt 105°C · 50+ washes · White & Black · Anti-clump - 🎞️ 85µm Double Matt Premium DTF Film →
Consistent ink-receptive coating · Hot and cold peel · Full roll width uniformity - 🖨️ Premium DTF Pigment Ink →
Vibrant colors · Excellent white ink opacity · Printhead-compatible - 📦 Complete DTF Print Shop Starter Bundle →
24-inch printer · Dual-platen heat press · Inks, film & powder included · Everything pre-matched
📍 SHL LA Supply
Same-day / next-day shipping on consumables from Los Angeles stock.
In-person support available · US-based after-sales team · Wholesale pricing for all customers.

Leave a comment
This site is protected by hCaptcha and the hCaptcha Privacy Policy and Terms of Service apply.