
How to Fix Air Bubbles During UV DTF Lamination
Your Film A printed perfectly — then the laminator ruined it. Here's exactly why bubbles form and how to eliminate them for good.
Why Air Bubbles Form During UV DTF Lamination
Bubbles are always a symptom of one of three mechanical or material failures. Identifying which one — before you start adjusting — saves hours of guesswork.
Uneven Roller Pressure
Misaligned laminating rollers create dead zones where the two films meet without full contact — air gets trapped and has nowhere to go.
Lamination Speed Too Fast
When film moves through the nip point too quickly, trapped air can't escape before the adhesive bonds. Heat buildup during long runs makes this worse.
Varnish Under-Cured or Too Thick
Uncured varnish is tacky and releases gas during lamination. Overbuilt varnish creates an uneven surface Film B can't fully adhere to.
How to Inspect and Adjust Laminator Roller Pressure
Roller pressure adjustment is the most impactful mechanical fix. Follow these steps in order — do not skip straight to maximum pressure.
Locate the Pressure Adjustment Knobs
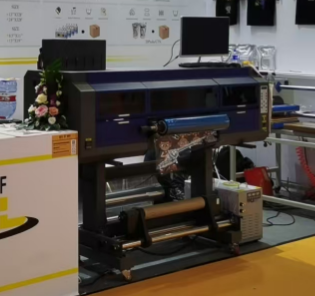
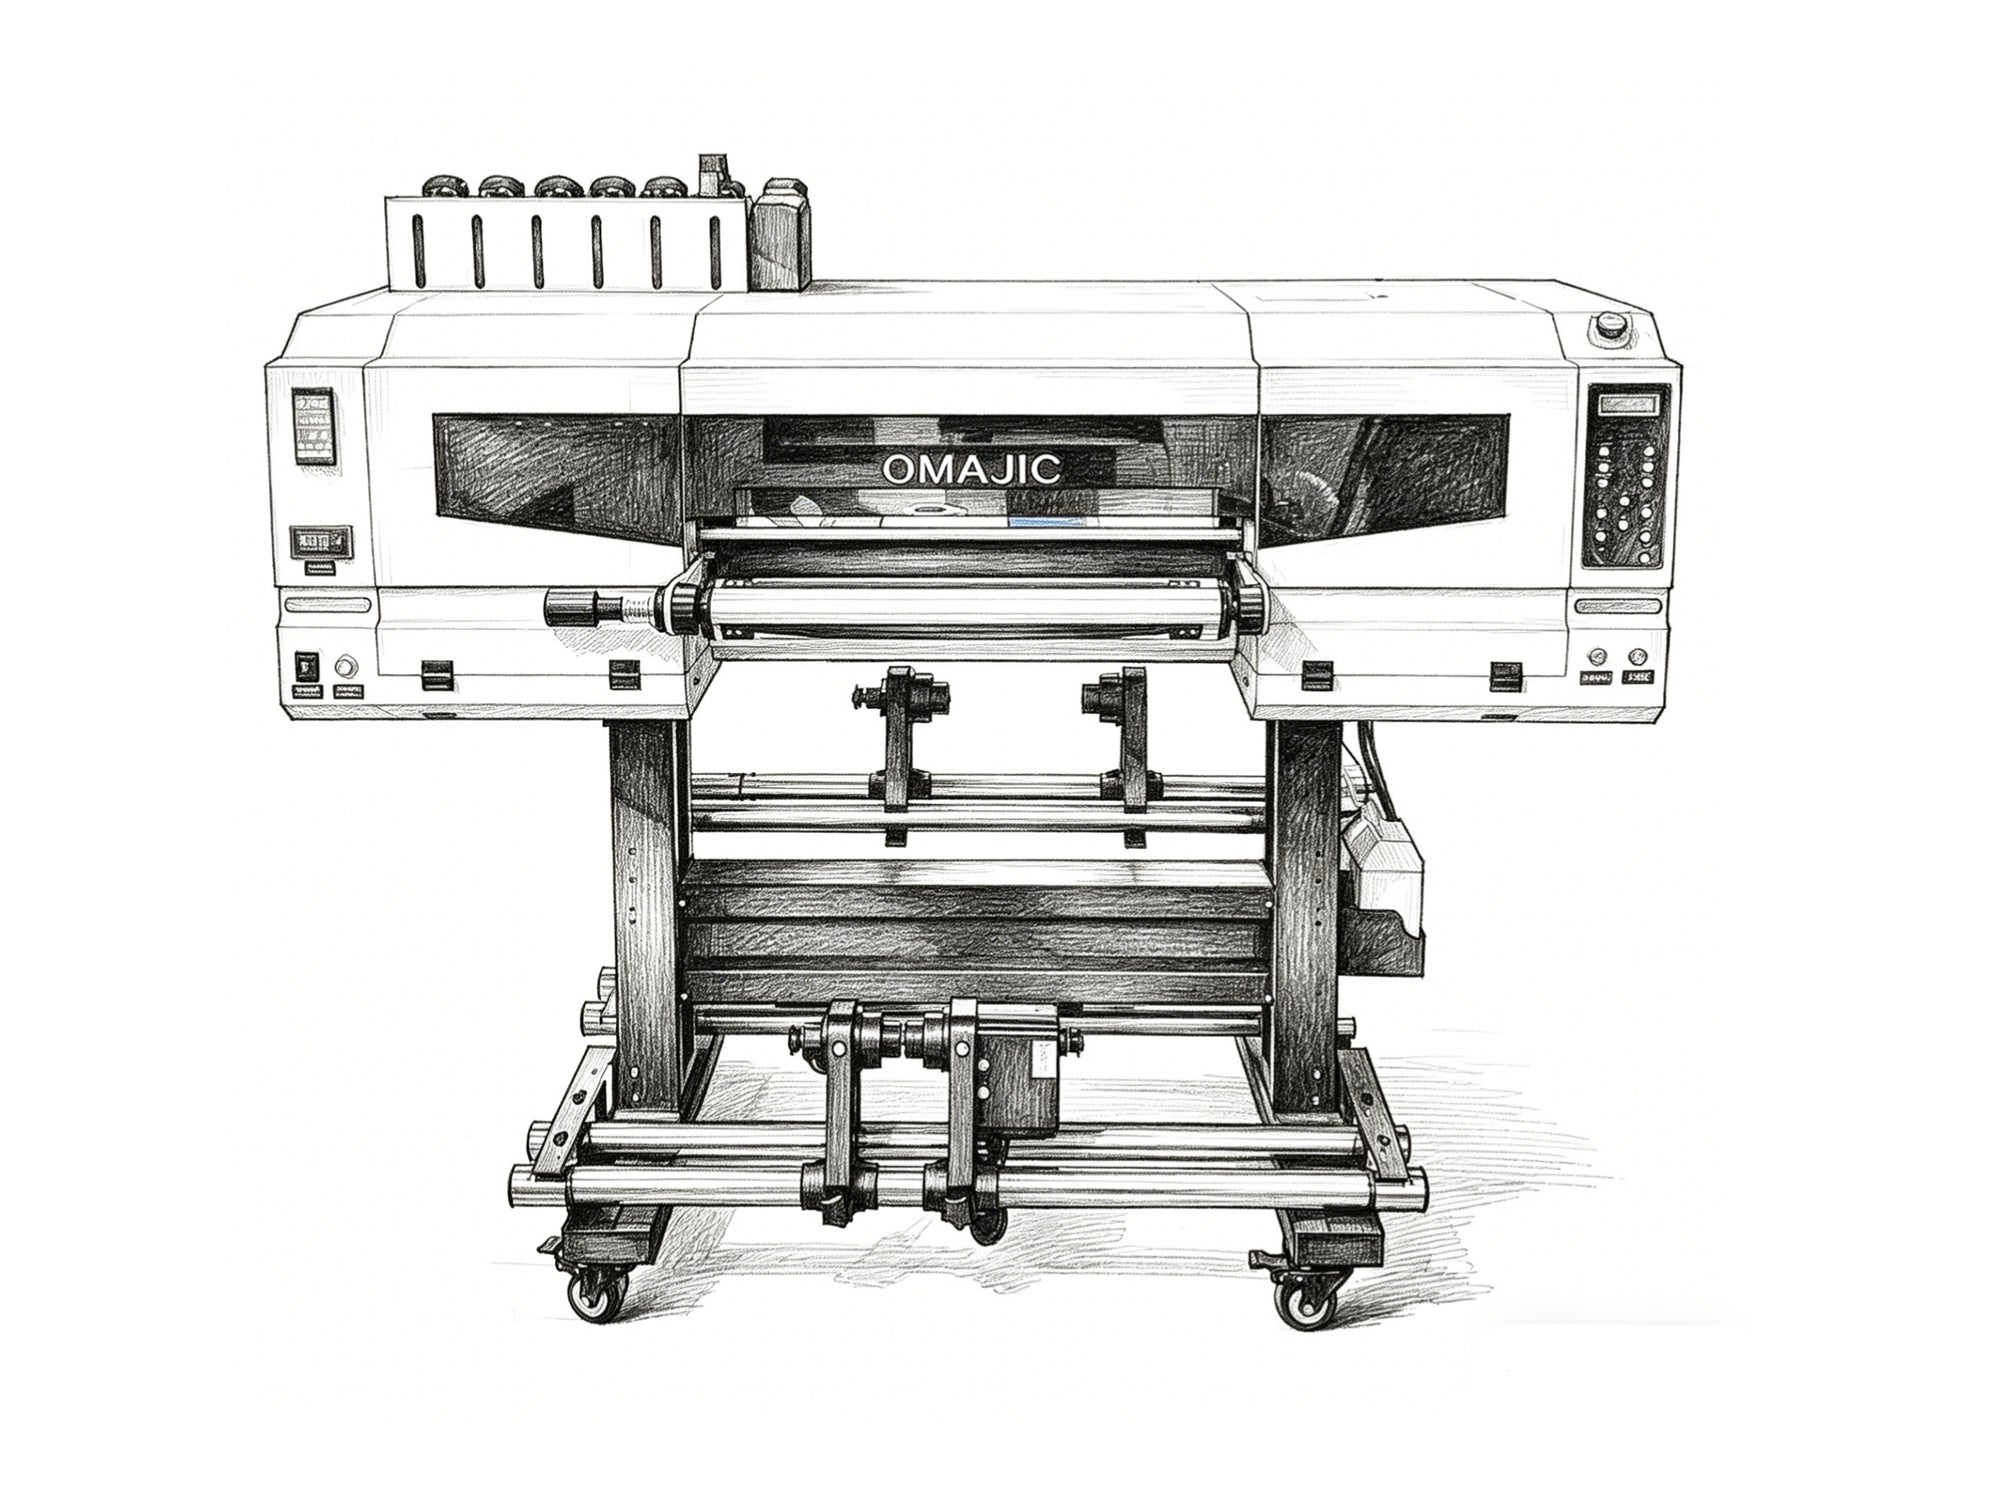
On most integrated UV DTF all-in-one machines, pressure knobs are at one or both ends of the laminating roller assembly — typically accessible from the front or side panel. On SHL models, they are clearly labeled. Refer to your specific machine's manual for exact location.
Run a Full-Width Pressure Test Strip
Print a solid single-color block (solid white or solid cyan) at your maximum print width. Laminate it at normal speed. Immediately after lamination, mark where bubbles concentrate — left side, right side, center, or uniform across the width.
Make Incremental Adjustments (¼ Turn at a Time)
• Bubbles on left side only → increase left knob pressure (clockwise, ¼ turn)
• Bubbles on right side only → increase right knob pressure (¼ turn)
• Bubbles uniform across width → increase both sides equally by ¼ turn
Re-run the test strip after each adjustment. Do not skip test runs.
Check for Roller Wear
If pressure adjustments produce no improvement and the machine has high mileage (>500,000 linear inches), inspect the roller surface visually under bright light for flat spots or hardened zones. Worn rollers require replacement — contact your supplier for the correct part.
Fine-Tuning Varnish Thickness & UV Cure Settings in RIP Software
Most UV DTF workflows run through RIP software — Photoprint, Maintop, ErgoSoft, or OEM-branded equivalents. Varnish and cure settings here are the fastest lever to pull for bubble reduction.
| Setting | Default (Problem Zone) | Recommended Start | Effect |
|---|---|---|---|
| Varnish Ink Density | Above 80% | 60–75% | Thinner coat cures fully, leaves flat surface for Film B |
| UV Lamp Power | Below 80% | 90–100% | Higher power = more complete cure = stable, non-gassing surface |
| Secondary Cure Pass | Off (default) | Enable if available | Double-pass cure eliminates under-cured varnish zones |
| Lamination Speed | 1000–1200 mm/min | 600–800 mm/min | Slower nip = more time for air to escape before bond sets |
After adjusting varnish density, always re-run the full print-and-laminate cycle before making additional changes. Adjust one variable at a time.
The Complete Bubble Troubleshooting Sequence
Use this sequence to isolate the cause efficiently. Working through it top-to-bottom prevents chasing the wrong variable.
Troubleshooting Workflow — Run in Order
Factory Roller Calibration: Why It Makes a Difference
One of the most common sources of persistent bubble problems — especially on machines from overseas commodity suppliers — is rollers that were never precisely calibrated at the factory. A machine that ships uncalibrated forces you to spend hours in field setup before your first production run.
Factory roller calibration means: setting parallelism between upper and lower rollers to within fractions of a millimeter, verifying pressure uniformity across the full roller width with calibrated gauges, and confirming roller durometer matches the adhesive specification of the film stock.
SHL all-in-one UV DTF machines are test-run with actual UV DTF film before shipping. You receive a machine that's already dialed in — not one that requires a service visit on day one.
Ships from U.S. Warehouse
Machines and key replacement parts arrive in 2–5 business days. No sea freight wait, no customs delays.
Same-Day U.S. Support
English-speaking technicians available during U.S. business hours. No 12-hour time zone gap — real help, when you need it.
Operator Training Included
We train your team on machine setup, RIP configuration, varnish calibration, and lamination troubleshooting — from week one.
Precision Factory Calibration
Every SHL laminator ships with rollers pre-calibrated and verified. You're productive on day one, not after days of tuning.
FAQ: UV DTF Lamination Air Bubbles
Struggling with Bubbles? SHL Can Help — Today.
Our U.S.-based technical team answers the same business day. Whether you need a settings walkthrough, a replacement part, or a training session — we're here, in your time zone.

Leave a comment
This site is protected by hCaptcha and the hCaptcha Privacy Policy and Terms of Service apply.