Correct Layer Order in RIP Software for UV DTF Printing
Getting White → Color → Varnish in the wrong sequence is the single most common setup mistake for new UV DTF operators. Here's exactly how to get it right.
🎛 Interactive Layer Explorer — Click Any Layer to Learn What It Does
Varnish / Top Coat
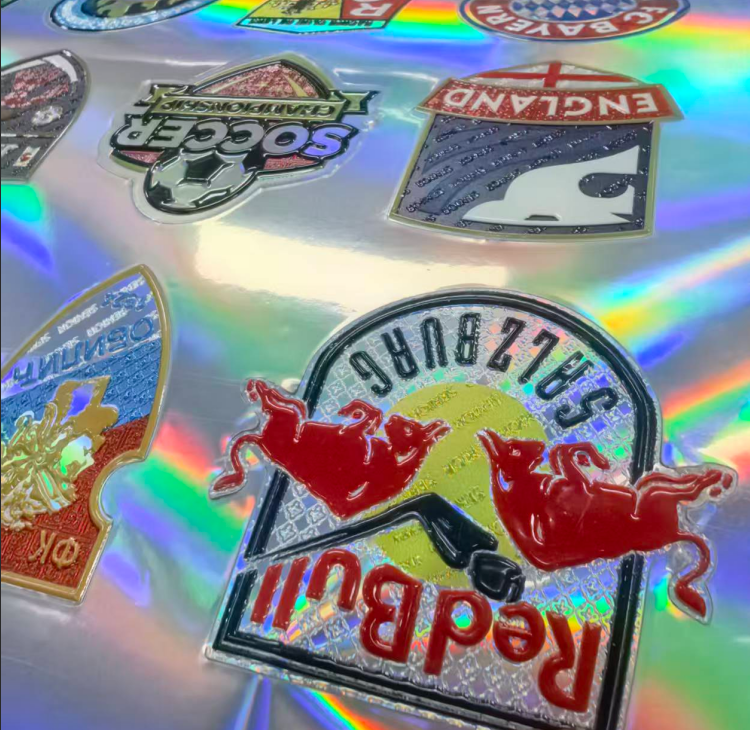
The varnish is the final layer printed — it sits directly on top of the CMYK color and acts as a protective clear coat that gives the sticker its characteristic 3D crystal appearance and scratch resistance.
In RIP software, the varnish is configured as a Spot Color channel (sometimes called Gloss, Clear, or V channel). It must be set to print after CMYK in the output order.
Prints Last — Top of StackThe UV DTF Layer Stack — Why Order Matters
UV DTF printing builds a sticker from the substrate up, one ink layer at a time. Unlike paper printing where layers rarely interact, UV DTF layers are physically stacked on Film A — each layer cured before the next is deposited. Get the order wrong and the optical result is fundamentally broken: colors appear muddy (white printed over color instead of under it), or the varnish protection fails (varnish buried below the color it's supposed to protect).
The standard UV DTF layer architecture has four components:
Face-Up Printing vs. Reverse Printing — Which Do You Need?
Before configuring your RIP, you must know which print mode your job requires. These two modes have opposite layer stacks and opposite mirror settings — mixing them up produces a perfectly-constructed sticker that is either backwards or optically wrong.
✅ Face-Up Printing
Standard mode for UV DTF crystal stickers. The printed side faces up when applied to the surface. This is what 95% of UV DTF jobs use.
Mirror setting: Do NOT mirror the image in RIP
🔄 Reverse Printing
Used for clear/transparent substrates where the design is viewed through the back of the film. Less common; used for window decals and backlit applications.
Mirror setting: MIRROR the image in RIP
How to Configure Layer Order in Maintop & FlexiPRINT RIP Software
The following steps apply to Maintop and FlexiPRINT, the two most common RIP platforms used with UV DTF all-in-one machines in the U.S. market. Other RIP software (Photoprint, ErgoSoft, SAi) use the same concepts with slightly different menu names — the logic is identical.
Open Your UV DTF Media Profile
In Maintop: go to File → Printer Setup → Media Management and select your UV DTF Film A profile. In FlexiPRINT: open Output → Device Setup and select the corresponding media entry.
If you don't yet have a UV DTF media profile, download SHL's pre-configured profile from our Downloads page — it includes correct channel assignments for all four layers, calibrated ink limits, and an ICC color profile optimized for UV DTF output.
Navigate to the Ink Channel / Spot Color Panel
In Maintop: go to Ink Channel Settings (sometimes listed as Special Channels or Spot Color Configuration). You will see a list of available ink channels for your printer — CMYK plus any special channels your machine has.
In FlexiPRINT: go to Color Management → Spot Colors or Channel Assignment.
↑ Representative Maintop channel panel — your version may look slightly different depending on software version and machine model.
Enable and Assign the White (Underbase) Channel
Locate the White ink channel — it may be labeled W, White, Spot White, or Underbase. Enable the toggle to activate this channel.
Set its print order position to Layer 1 or First Pass — it must print before CMYK. In Maintop, this is controlled by the Print Order dropdown next to the channel. In FlexiPRINT, it's labeled Pass Assignment.
Set white ink density to 85–95% as a starting point. Higher density gives more opaque backgrounds; reduce if you see white bleeding at edges.
Enable and Assign the Varnish (Top Coat) Channel
Locate the Varnish channel — labeled V, Gloss, Clear, or Varnish. Enable the toggle.
Set its print order to Last Pass or the highest layer number available — it must print after CMYK. In Maintop, confirm the Print Order value is higher than the CMYK value. In FlexiPRINT, assign it to the final pass slot.
Set varnish density to 65–75% as a starting point. This is thinner than white and helps ensure complete UV curing. (See our varnish curing guide for more on density calibration.)
Set Mirror Mode Based on Print Direction
In your RIP's Job Properties or Print Settings:
• Face-up printing (standard UV DTF crystal stickers): Mirror = OFF
• Reverse printing (view-through applications): Mirror = ON (Horizontal Flip)
Confirm by printing a small test tile with text — the text should read correctly from the intended viewing direction before running a production batch.
Load the SHL ICC Color Profile & Save Your Preset
An ICC color profile calibrates how your RIP converts RGB or CMYK artwork colors to the actual ink output of your specific machine and film combination. Without a matched ICC profile, colors may appear oversaturated, dull, or shifted from your artwork.
Download SHL's UV DTF ICC profile from our Downloads page (free). Import it in Maintop via Color Management → Import ICC Profile, or in FlexiPRINT via Color Settings → Output Profile → Import.
Once all settings are confirmed with a clean test tile, save everything as a named media preset — e.g., "UV DTF Film A — Face Up — SHL Profile". This becomes your go-to starting point for all future UV DTF runs.
RIP Layer Settings at a Glance
| Layer | RIP Channel Name | Print Order | Density Start | Mirror (Face-Up) |
|---|---|---|---|---|
| Film A Base | N/A (substrate) | — | — | — |
| White Underbase | W / White / Underbase | Pass 1 — First | 85–95% | OFF |
| CMYK Color | C / M / Y / K | Pass 2 — Middle | Per ICC profile | OFF |
| Varnish Top Coat | V / Gloss / Clear / Varnish | Pass 3 — Last | 65–75% | OFF |
SHL Makes UV DTF Setup Faster for U.S. Operators
Layer order errors and RIP misconfiguration are the leading reason new UV DTF operators waste their first rolls of film. The technical knowledge to set this up correctly exists — but it's scattered across forums, YouTube videos in multiple languages, and outdated documentation for older software versions.
SHL addresses this directly with resources and support that are built for the U.S. market from the ground up.
Free Pre-Built Profiles
Download ICC color profiles, RIP media presets, and channel assignment templates — all pre-configured for SHL machines and tested on U.S. Film A stock.
Operator Training on Day One
Every SHL machine purchase includes RIP setup training — covering layer order, channel assignment, ICC profile loading, and test tile verification with your actual machine.
U.S. Hours Support
English-speaking technicians available during U.S. business hours. If your channel settings are wrong, we walk you through the fix in real time — not 24 hours later.
Fast Domestic Shipping
Film A, UV inks, and consumables ship from U.S. inventory. Most orders arrive in 2–5 business days. No sea freight waits on supplies you need today.
FAQ: UV DTF Layer Order & RIP Setup
Get Set Up Right — Free Profiles & U.S. Support
Download SHL's ICC profiles and RIP configuration guide to skip manual calibration. Or talk to our U.S.-based team for a live RIP setup walkthrough on your machine.

Leave a comment
This site is protected by hCaptcha and the hCaptcha Privacy Policy and Terms of Service apply.